
iMessages are quite different from the usual text messages that we can use in every phone, even though they are both categorized under the Messaging app. Whilst regular text messaging use plans and tariffs based on your mobile carrier or network, iMessages use data to send messages rather than the usual text messaging plans you purchase from your wireless carrier.
iMessages makes use of data that users pay for through their cellular data plan; and are also enabled to send text messages, photos, videos, files, locations and a lot of other data types using the message app and are quite faster than the regular SMS or MMS.
iMessage are designed and solely owned by Apple Inc., and therefore usage is strictly based on Apple products like the iPhone and iPad. Android OS have been able to compete with Apple on nearly everything, and every invention, except Apple’s iMessage app. But recently, techies and programmers have invented an iMessage app for use on Android devices without much hitch; that is to say, you can now send and receive iMessages from Android devices.
Here are steps to using the iMessage app on your Android device.
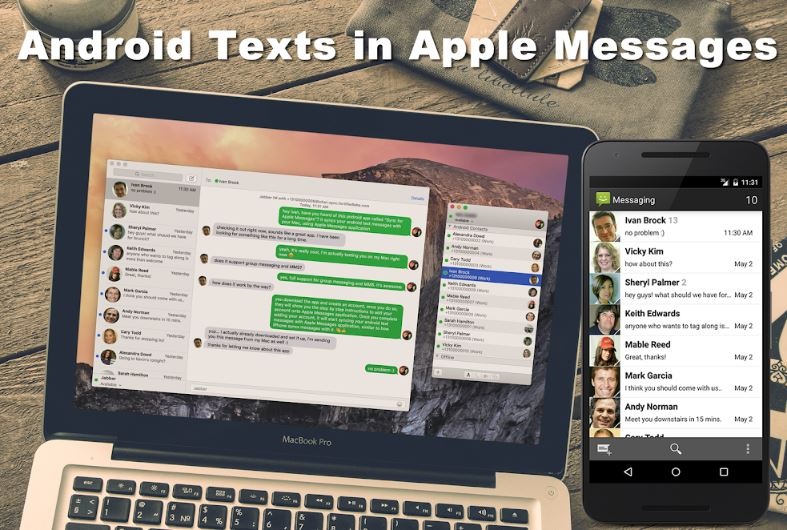
1. Download SMS for iMessage App
SMS for iMessage is an Android application that routes text messages from Mac iMessage client to android phones. During and after setup, the app will guide you through the process of adding SMS for your iChat account to your desktop iMessage client. Once this is done, you can send and receive your SMS messages from your desktop iMessage app to your Android devices.
Or you can download WeServer app to make use of iMessages on your Android device, follows these steps.
2. Install weServer
This app will also enable you send and receive iMessages on your Android device. Use the link weServer to download and install the MacOS version of the app. The file may come as a .zip file, in this case you will need to unzip the file, then double click to run command file. If the downloaded file is from an unsourced or unsecure channel, it may not open.
3. Give Permissions
For smooth running of the weServer app, you need to grant Terminal Accessibility permission. This is because the app runs inside the terminal. To grant this permission, go to Setting, look for Security and Privacy, click the Privacy tab, then locate the Accessibility and open, look for terminal and check its box.
4. Setup iMessage Account
Next you need to setup your iMessage account with the weServer. Upon opening the terminal, the app should be requesting iMessage account details, make sure the email you add as an ID is the same as the one you use to iMessage, then setup with a secure password.
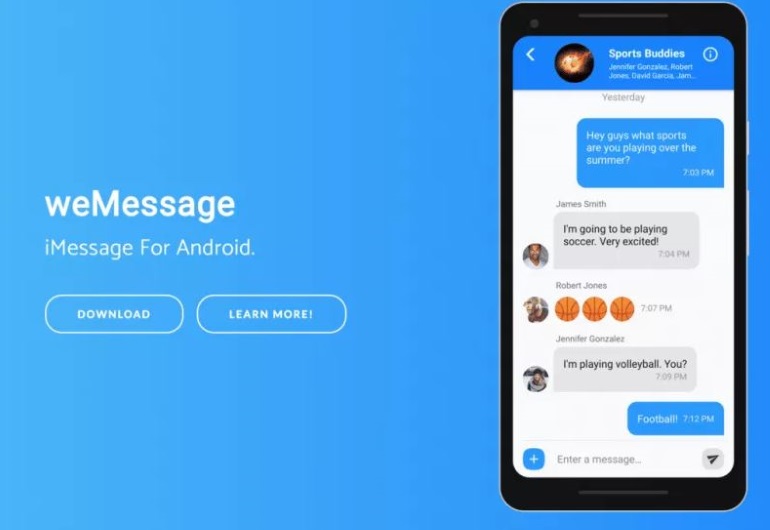
5. Install weMessage
After the above steps, download and install the weMessage app on your Android Smartphone from Google Play Store. When opened, the app is going to request for an IP address, weServer password, and iMessage email address, here, you can choose to either use a public or private IP of your mac. You can find this IP by opening your System Preferences, double click on the Network, go to TCP/IP and double click the advanced option, here you’ll locate the system private IP.
6. Login, Sync and Start iMessaging with your Android Phone
After obtaining the IP address, login with it and your other details in your Android phone. And that is all for the setup. To sync your contacts, give permission to Mac Terminal, this will enable it access and sync your contacts. You will now have to tap on the settings in weMessage, then click on the Sync contact option.
Now you can start your conversation!