If you want the best possible performance for your WordPress site, it will help to consider updating your site regularly to maintain its reliability. Sure, you can always avoid these hassles by utilizing one of the best website builders for WordPress and excellent website builders for small business. But there’s no harm in learning an extra thing or two, right?
We’ll show you how to upgrade your WordPress site without causing any problems in this article, so you can be confident your site is running on the most recent version of WordPress.
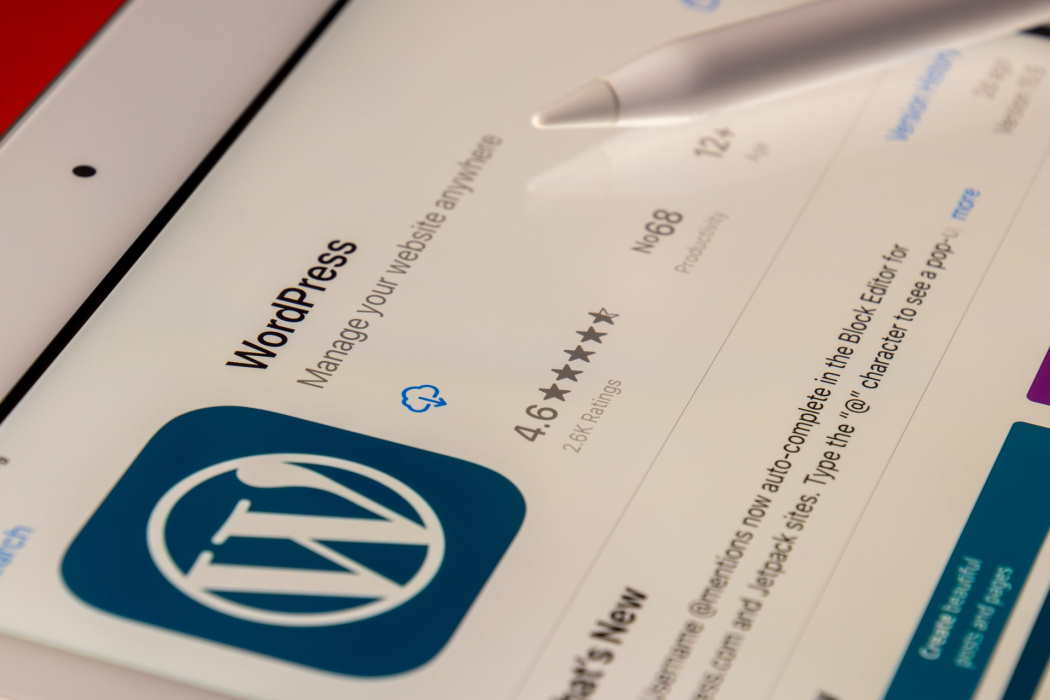
What Are the Benefits of WordPress Updates?
WordPress developers are constantly improving and improving their technology. They increase performance and speed while adding new features, fixing problems, and applying security fixes. These improvements are made available in the form of a new software version. Every upgrade has a purpose, and it benefits your website somehow. However, the most critical upgrades include security fixes that will address any software flaws detected. Updates keep hackers out of your site.
You can choose whether to ignore the message that a new version is available, but you’ll open yourself up for trouble later. So, if an update is released, installing it as soon as possible is important.
Before You Update
Make a comprehensive backup of your website’s data before updating to the latest version of WordPress. You should save this locally or on the cloud.
If something goes wrong during the upgrade process, having a backup of your site will allow you to recover it. You’re ready to start the updating process once you’ve produced and stored a backup of your site.
How to Manually Update WordPress?
Manually updating the WordPress software is possible in three ways. We’ll start with the simplest option and work our way up to those more suited for expert users.
1. How to Manually Update WordPress Using the Dashboard?
In the WordPress admin dashboard, one-click updates are available. The one-click Update is the simplest approach for updating your core software. The steps are as follows:
- Find Updates in the Dashboard to check what’s new
- Click Update and ‘Update Now’ if you can spot “An updated version of WordPress is available”
- You can log out and back into this Updates screen to double-check that the Update was successful. The message “You have the newest version of WordPress” should now appear
2. How to Manually Update WordPress Using FTP?
If you’re having trouble logging into your WordPress dashboard or have a permissions problem, you can use an FTP client to upgrade the software. The following are the measures to take:
- You can download the most recent WordPress.zip file
- You must extract the The.zip file
- FTP access to your site’s server is required
- Go to the wp-content directory
- Rename the plugins folder to “plugins. “Hold” by right-clicking it. The step will turn off your plugins for the time being
- Remove the wp-includes and wp-admin directories from your WordPress installation
- From the.zip file, you extracted earlier, upload the updated wp-includes and wp-admin files
- You should upload individual files from the new wp-content folder to your old wp-content folder
- You should upload all new loose files to your public HTML folder
- Rename the file “plugins. “Hold” to “plugins.”
- You should be good to go.
You should notice an update option for the WordPress core on your dashboard once logged in.
3. How to Manually Update WordPress Using WP-CLI?
With WP-CLI, you may update plugins and other operations without using a web browser. The following are the measures to take:
- You must first install WP-CLI
- Ensure that your environment is “UNIX-like” and that you’re running a recent version of PHP and WordPress before installing it
- Using wget or curl, download the wp-cli.phar file
- Double-check that the Phar file is operational.
- Make the file executable and place it in your PATH directory.
- Use wp —info to verify that WP-CLI was successfully installed.
- Execute the following command: wordpress core update
The process allows the user to view WordPress to the most recent version.
How to Update WordPress Automatically?
Let’s imagine you don’t want to go through these processes every time WordPress updates its core software. In that situation, you can set up your website to update automatically. You may accomplish this through your admin dashboard or cPanel.
1. How to Use the Dashboard to Update WordPress Automatically?
- Go to Dashboard- Updates to see what’s new
- “This site is automatically kept up to date with each new version of WordPress,” it should say
- If it doesn’t, click the hyperlinked phrase “Enable automatic updates for all new versions of WordPress” to enable automatic updates for all new versions of WordPress
That’s all there is to it! You’re ready to go!
2. How to Use cPanel to Update WordPress Automatically?
- Log in to your cPanel account.
- Under the Files area, go to the File Manager.
- Go to the public HTML folder and double-click it.
- Click the wp-config.php.
- In the top toolbar, click the Edit button.
- Replace or add the following line: define(‘WP AUTO UPDATE CORE’, true);
- Click Save
Automatic updates for major and minor releases, as well as development, are now available.
Conclusion
Keeping WordPress up to date may appear difficult, but there are techniques to automate the process. This way, hackers won’t be able to break into your site, and you’ll never have to worry about downtime or your site collapsing due to updates. We’re delighted we could help if, after reading this post, your website is up to date, secure, and working well!