The Samsung Galaxy Z Fold 5 retains its predecessor’s side-mounted fingerprint scanner. Some users have reported encountering glitches in the fingerprint scanner’s performance. If you’re among those facing this problem, don’t worry! There are a few remedies that could help resolve the issue.
This article explores some practical remedies that can potentially fix the fingerprint scanner issue on your Samsung Galaxy Z Fold 5.
By delving into these practical fixes, you can regain optimal fingerprint recognition functionality, ensuring a seamless user experience.
Tips to Address Galaxy Z Fold 5 Fingerprint Scanner Issue
1. Clean Your Finger
Oily, wet, or sweaty fingers can hinder fingerprint recognition. Likewise, dirt on your finger can obstruct the scanner. Since the sensor reads your unique prints, any hindrance can cause detection failure. Begin by thoroughly cleaning and drying your finger before attempting to use the scanner. A clean finger ensures optimal contact and accurate recognition.
2. Clean the Scanner
Just as your finger needs to be clean, so does the scanner itself. Dust, dirt, or residue can accumulate on the scanner’s surface, affecting its ability to read fingerprints accurately. Gently wipe the scanner using a soft, lint-free cloth to remove any potential obstructions. This simple maintenance step can often restore the scanner’s functionality.
3. Restart Your Phone
Minor software glitches could be behind the issue. Restarting your device can often resolve these glitches. When you encounter fingerprint recognition problems, press and hold the power button to bring up the device menu. Then, tap “Restart” to initiate a normal reboot. This action refreshes the device’s software and can rectify temporary inconsistencies.
4. Rescan & Add Fingerprints
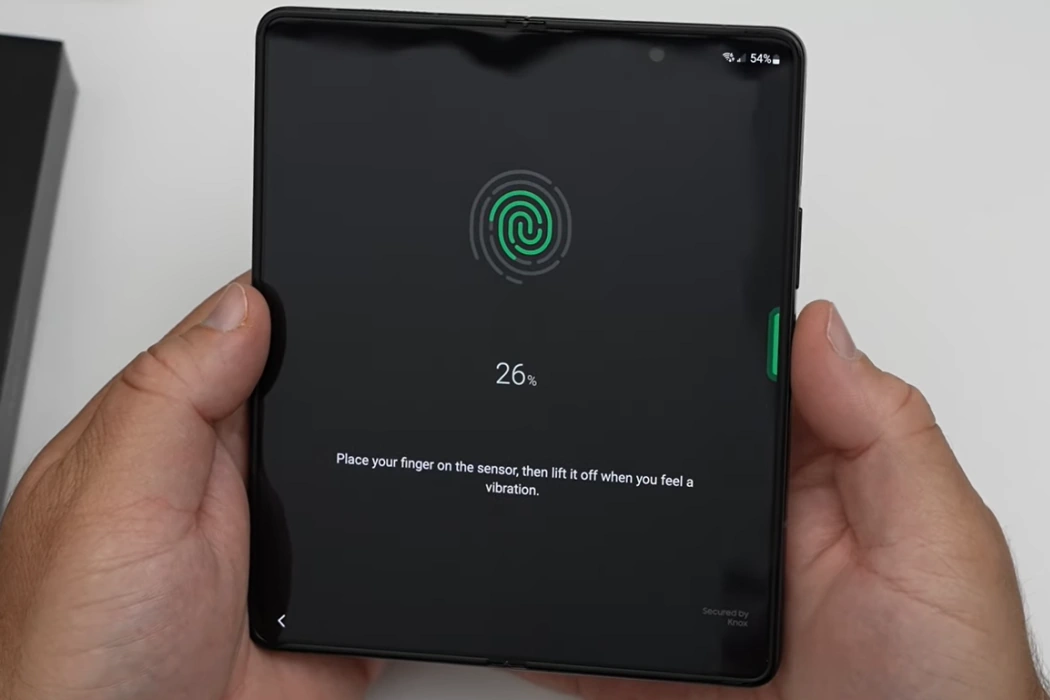
Over time, fingerprints can undergo subtle changes or damage due to various factors. Remove and rescan existing fingerprints, or add fresh ones for accurate recognition. To manage fingerprints, access Settings » Security and privacy » Biometrics » Fingerprints. Remove old fingerprints by tapping and holding, then selecting “Remove.” To add new fingerprints, tap “Add Fingerprint” and follow the on-screen instructions. Adding updated prints ensures the scanner has accurate reference data for recognition.
5. Utilize Safe Mode
Booting your phone into Safe Mode can help identify whether third-party apps are causing the fingerprint recognition issue. Safe Mode disables non-system apps, allowing you to determine if a specific app is the culprit. To enter Safe Mode, press and hold the power button, then press and hold the power off symbol for a few seconds. Once the option to reboot into Safe Mode appears, confirm and test the fingerprint scanner’s functionality. If it works seamlessly in Safe Mode, consider uninstalling recently added third-party apps to pinpoint the problematic one.
6. Perform Software Updates
Regular software updates can bring bug fixes and enhancements, potentially resolving fingerprint scanner issues. Navigate to Settings » About Phone » Software Update to check for available updates. If updates are available, download and install them. Ensure your phone has sufficient battery life to avoid interruption during the update process, which could lead to device issues.
7. Update Apps
Outdated app versions can lead to malfunctions, including fingerprint recognition problems. To prevent compatibility issues, keep your apps up to date. Access the Google Play Store, navigate to “Manage Apps & Device,” and update apps as needed. Consider enabling auto-updates in the Google Play Store settings for effortless app maintenance.
8. Clear Cache Partition
Corrupted cache can hinder your phone’s software and hardware interfaces, affecting fingerprint recognition. Clearing the cache partition helps resolve potential issues stemming from corrupted cache files. To perform this action, power off your device and press Power + Volume Up simultaneously to access recovery mode. Navigate to “Wipe Cache Partition,” confirm your selection, and reboot your phone after completing the cache clearance process.
9. Factory Reset (Last Resort)
A factory reset is a last-resort option to consider if all else fails. Be cautious as this step erases all data on your device. Avoid restoring backups, as they might reintroduce issues. Factory reset can be found in Settings » General management » Reset » Factory Data Reset. You may need to provide a PIN, pattern, or password to proceed.
Alternatively, you can perform factory reset without requiring access code.
- Turn off the phone.
- Press and hold the Volume Up key, then press and hold the Side key.
- Release all keys when the Android logo appears.
- Wait as the phone displays ‘Installing System Update‘ for 30-60 seconds.
- The Android recovery menu options will appear.
- Use the Volume Down key to navigate to ‘Wipe Data/Factory Reset‘ and confirm with the Power key.
- Navigate to ‘Factory data reset‘ using the Volume Down key and confirm with the Power key.
- Allow the phone to complete the process, then select ‘Reboot system now‘ with the Power key.
Conclusion
By applying the solutions outlined above, you can efficiently troubleshoot and resolve scanner issues, restoring seamless functionality. Remember that cleanliness, regular software updates, and user-awareness play pivotal roles in maintaining optimal scanner performance. Should none of the remedies yield results, consider seeking assistance from a Samsung service center for professional evaluation and assistance.