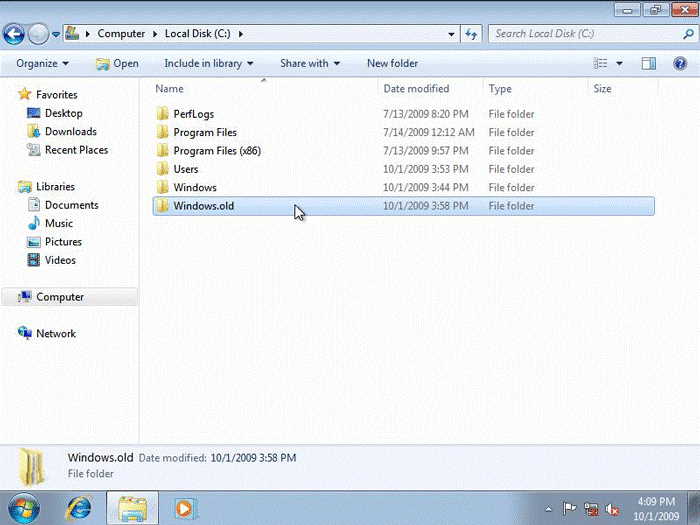
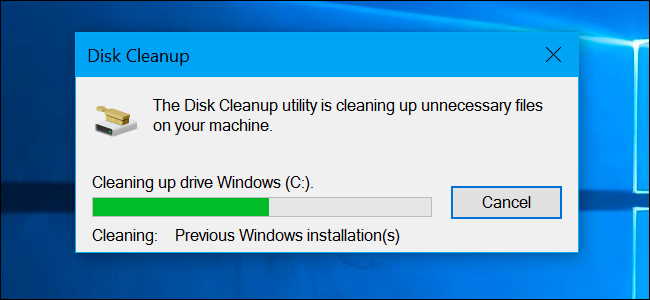
After installing a new version of Windows to your PC, have you ever wondered what happened to your previous version? Your previous Windows version did not just disappear into the mist of Windows but instead, it was automatically saved in a system folder called Windows.old.
What is the Windows.old Folder anyway?
The Windows.old folder is a special type of folder that’s automatically generated whenever you upgrade your PC from one version of Windows to another. When you upgrade your Windows version either from Vista to Windows 7 or from Windows 7 to Windows 10, the install wizard automatically saves a copy of the previous version inside this Windows.old folder for purposes of backup.
The copy of your previous version that has already been saved on the Windows.old acts as a safeguard mechanism in case of an emergency. For instance, if something bad happens during installing, your computer will be able to roll back to its previous version of Windows easily without facing any complications. Another advantage of the Windows.old folder is that it allows you to go back to your previous Windows version in case the new version doesn’t appeal you.
What if you like the new version of Windows? Now, in such a case, your computer will give you a month to make up your mind after which the Windows.old folder will automatically be deleted to free up space. In case you didn’t know, Windows.old can eat up your computer’s space really fast considering every failed install attempt is automatically saved to the folder.
Is it safe to delete the Windows.old?
A majority of Windows users have desperately been asking this question over and over. The answer to this question is simply YES. However, you need to understand that once you’ve deleted this folder, you will no longer be able to access the previous version of Windows you had earlier in case the present version develops some defects. Therefore, to be on the safe side, it would be best that you preserve the Windows.old for some time just to be sure that the current version of Windows is operating optimally.
Now, in case you’re entirely comfortable with the new version of Windows and maybe you feel you desperately need that extra space to save your personal data, the best thing is to delete the Windows.old folder from your PC. To ensure that you delete this folder entirely, the next section will discuss a step-by-step procedure on how to delete the Windows.old folder from your Windows computer.
How to delete the Windows.old folder
So, how do we go about it here? The first thing you need to note is that the Windows.old folder resides on your computer’s hard drive where the operating system is installed. In this case the C:drive. With that, you will require the Disk Cleanup tool to perform the operation. If you’re using the Windows 7/8/10, following this procedure will allow you to delete the Windows.old pretty fast.
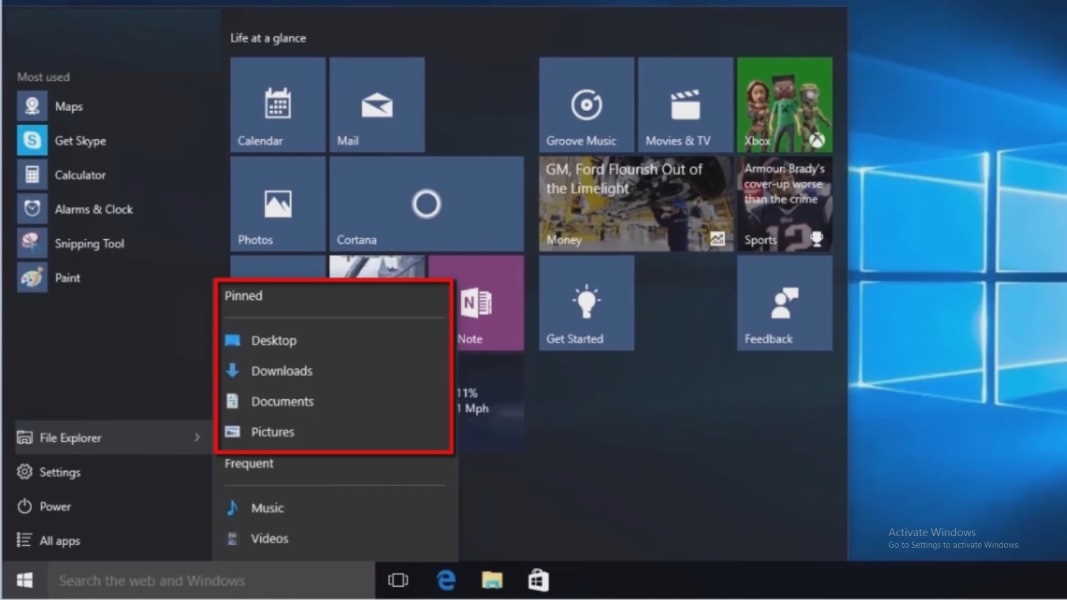
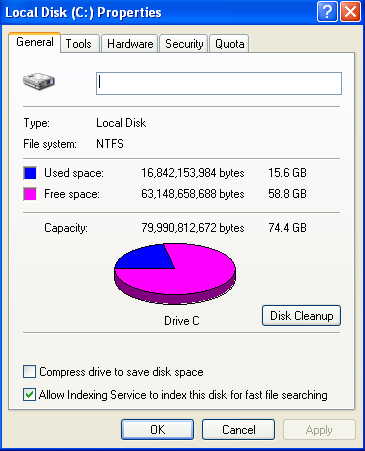
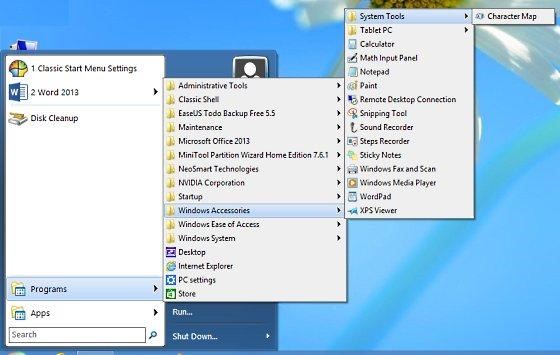
- Step 1: Start by clicking the Start button from your computer then search for Disk Cleanup. Alternatively, you can right-click the C:drive, select Properties then click the Disk Cleanup option.
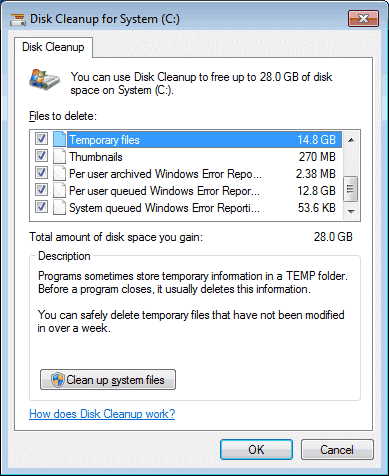
- Step 2: Next, click the Clean Up System option.
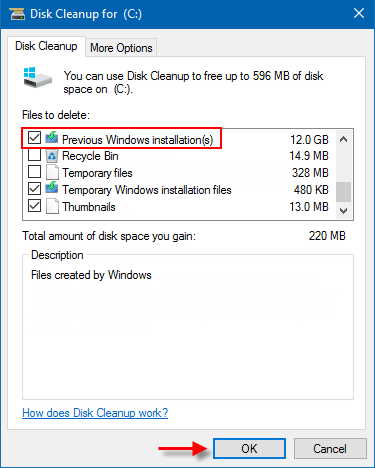
- Step 3: Here, a dialog will appear with a set of checkboxes. Scroll down the options and select the Previous Windows Installations or Older Versions of Windows option.
- Step 4: To finalize the process, click Delete Files on the pop-up dialog to confirm the process. Here, the disk cleanup will tell you the amount of space that had been eaten up. To free up more space, you can also select other unwanted files and delete them altogether to free up even more space.
For those using the Windows Vista
- Step 1: Start by clicking the Start button.
- Step 2: Then move to All Programs, Accessories and System Tools.
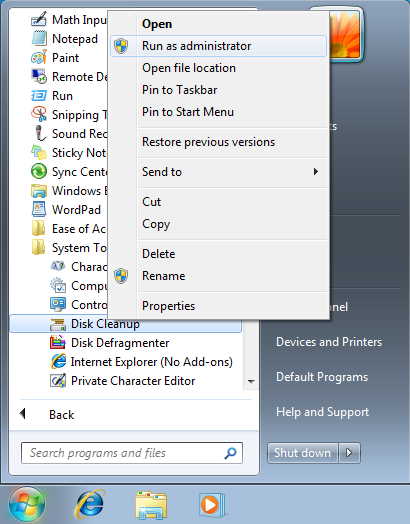
- Step 3: Under System Tools, right-click the Disk Cleanup option and select Run As Administrator.
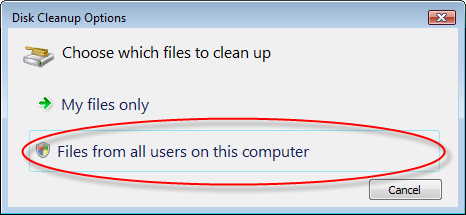
- Step 4: In the Disk Clean Up dialog, check for Files From all users on this computer box.
- Step 5: In the Disk Cleanup-Drive dialog, click the hard drive where the Windows.old folder is and click OK.
- Step 6: Your computer will perform a scan on unnecessary files. Click the Disk Cleanup tab on top then select the checkbox with Previous Windows Installations. Click the Delete Files option to get rid of the Windows.old folder from your computer.
Wrap up
That’s it! If you’ve followed either of these two procedures precisely (depending on your version of Windows), Congratulations! You’ve just deleted the Windows.old from your computer to free up more space on your hard drive.

