Color grading is an important step in the post-production process that involves adjusting the colors and tones of a video to achieve a desired look or mood. S-Log3 is a logarithmic color profile used by many high-end cameras, which preserves more detail in the highlights and shadows of an image. This allows for greater flexibility in post-production, but it also requires specialized techniques to achieve the desired look.
Let’s walkthrough the process of color grading S-Log3 footage in Adobe Premiere Pro.
See Also: [How-to] Customize Workspace Layout in Adobe Premiere Pro
Steps to Color Grade S-Log3 Footage in Adobe Premiere Pro
1. Import the footage into your project
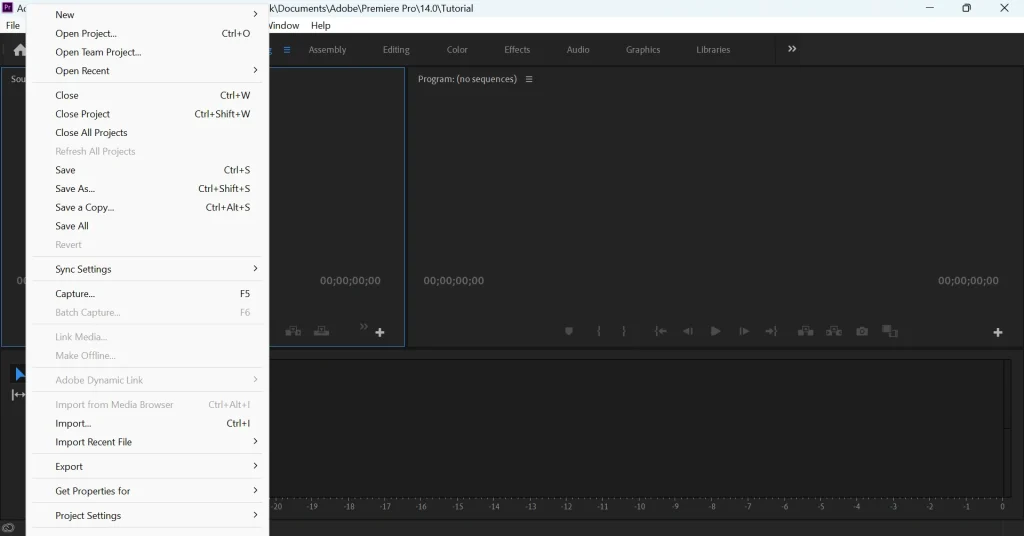
The first step is to import the S-Log3 footage into Adobe Premiere Pro. To do this, simply click on the File menu, select Import and choose the files you want to work with.
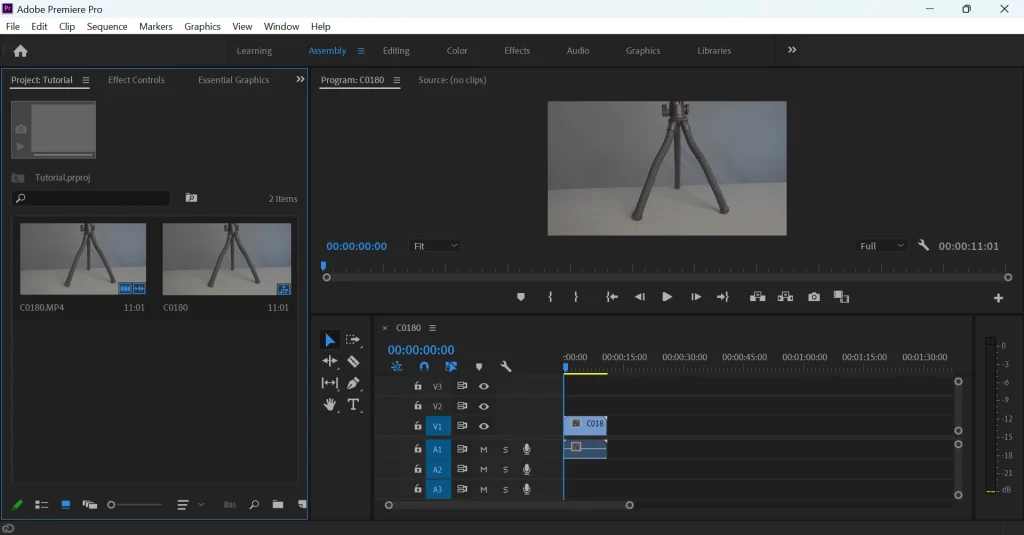
Create a new sequence and drag your footage into it.
2. Apply the Lumetri Color effect
Next, select the clip you want to color grade and go to the Effects panel. Find the Lumetri Color effect and drag it onto the clip in the timeline. This will bring up the Lumetri Color panel.
3. Apply a LUT
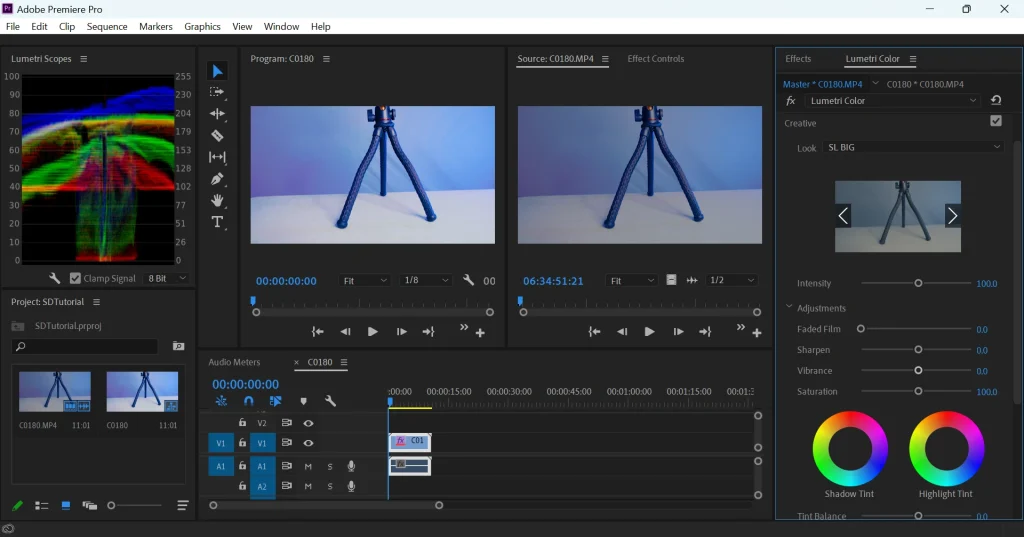
If you have a LUT (lookup table) that you want to use, go to the Creative section, and select a LUT from the dropdown menu. LUT makes it easier to work with your footage by converting the S-Log3 color space into a more familiar one.
Adjust the intensity of the LUT using the Intensity slider in the Creative section of the Lumetri Color panel.
4. Adjust the Exposure and Contrast
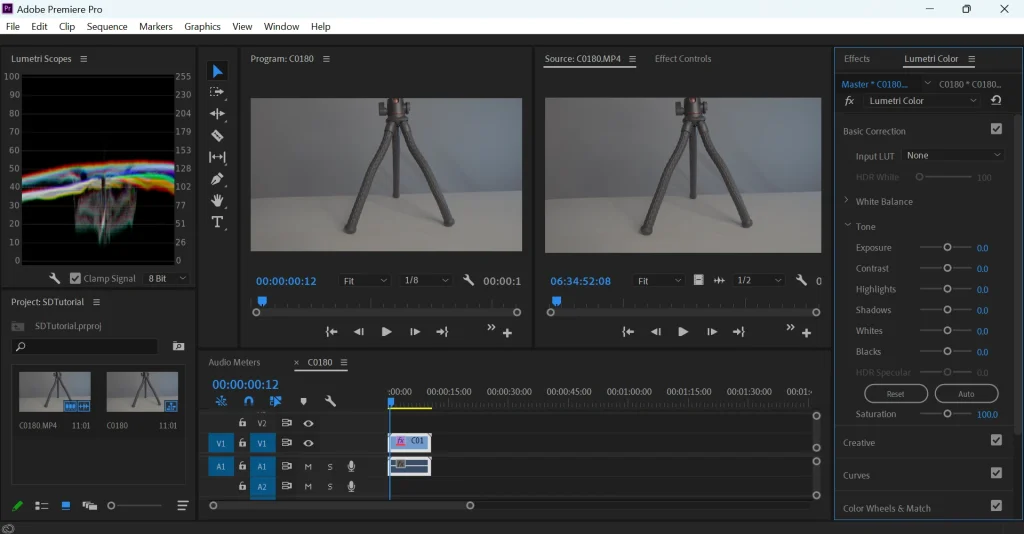
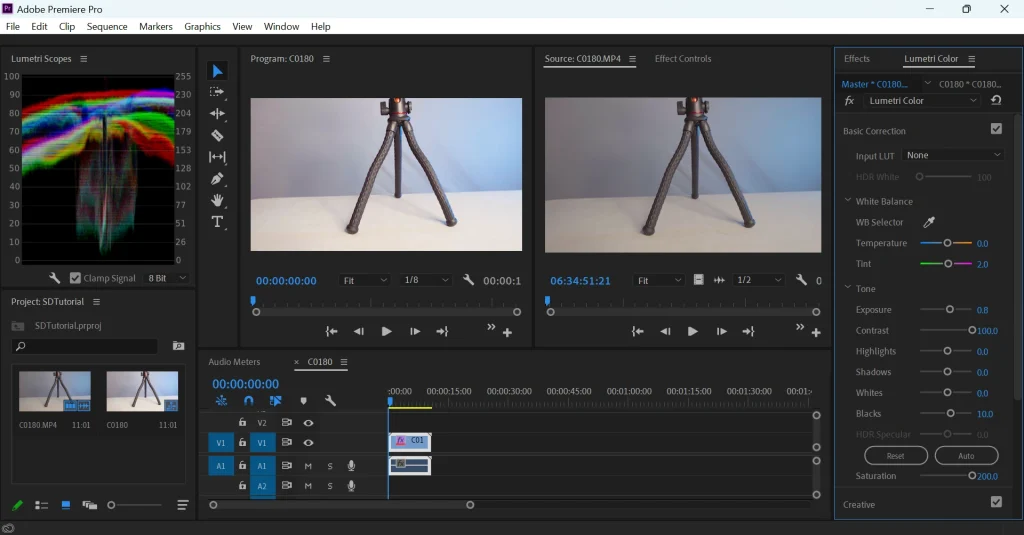
Since S-Log3 is a very flat and desaturated profile, you may need to adjust the exposure to bring out the details in the shadows and highlights. Use the Exposure slider in the Basic Correction section of the Lumetri Color panel to adjust the overall exposure of your footage.
Next, adjust the contrast of your footage to add some depth and definition. Use the Contrast slider in the Basic Correction section to achieve the desired level of contrast.
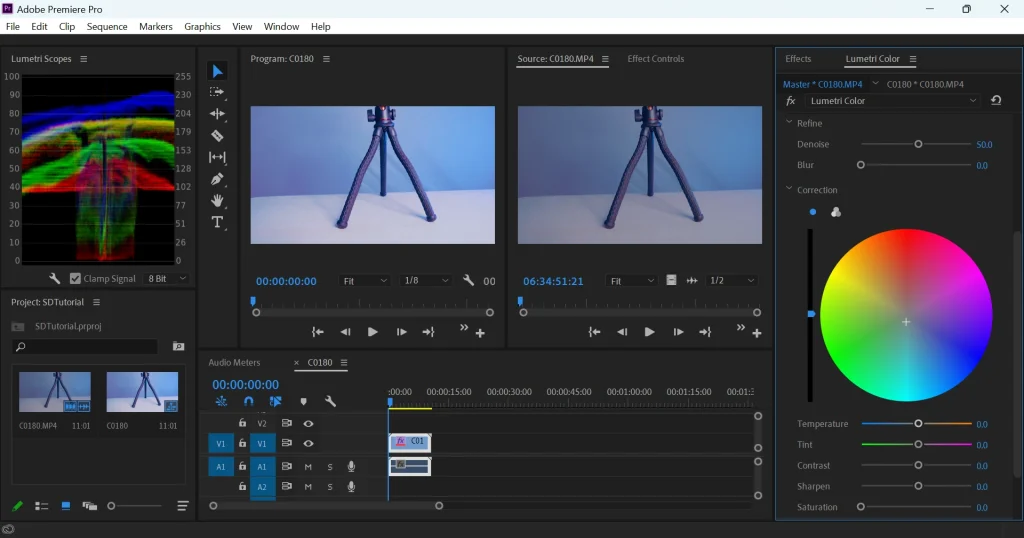
5. Adjust the Color
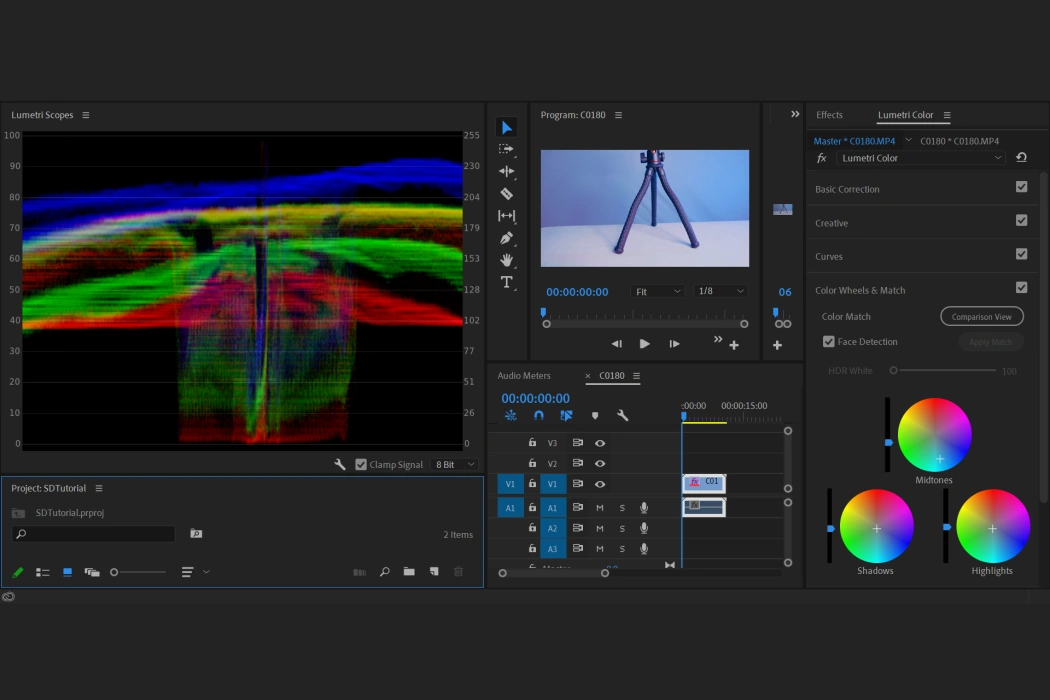
In the Color Wheels & Match section of the Lumetri Color panel, adjust the shadows, midtones, and highlights of your footage using the color wheels.
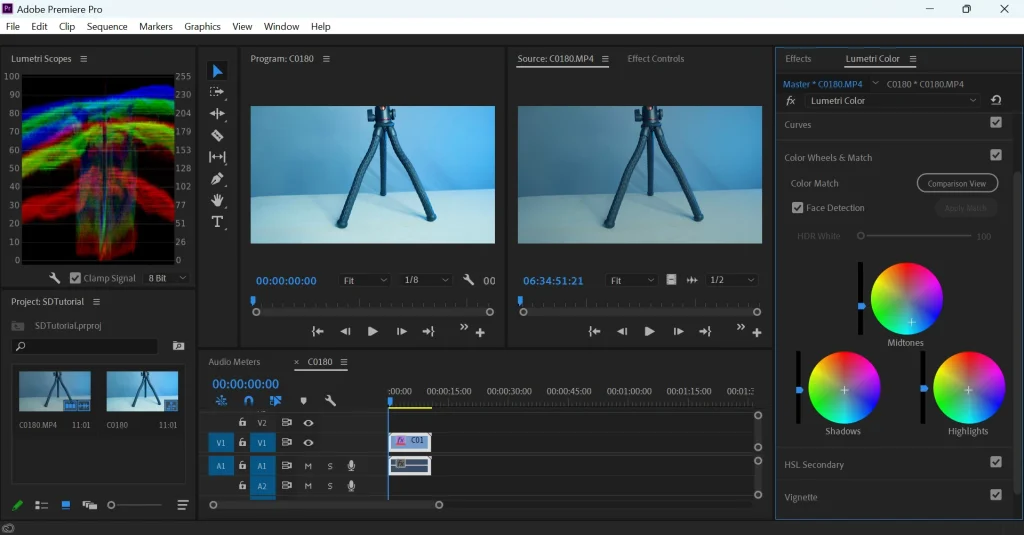
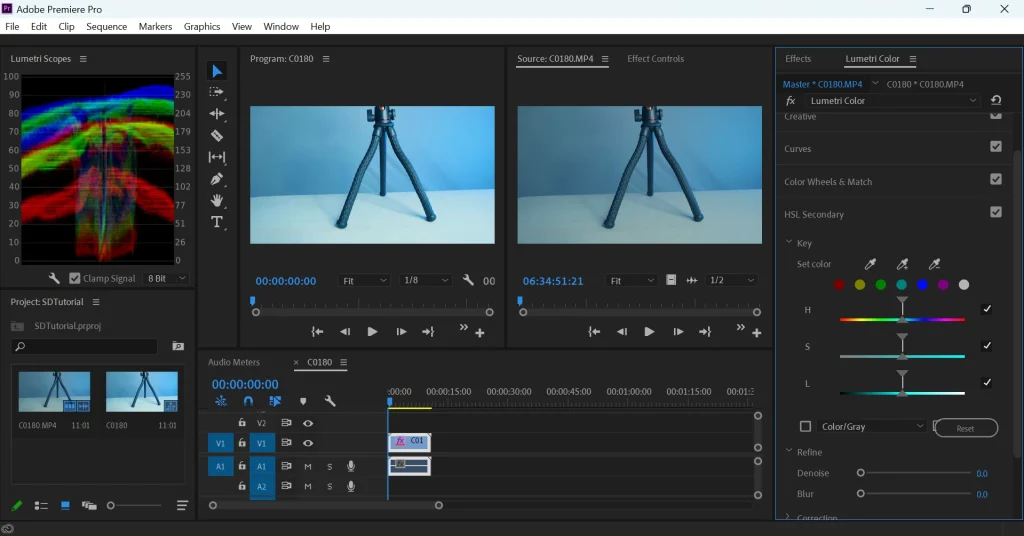
Use the Hue, Saturation, and Luminance controls to fine-tune the color grading.
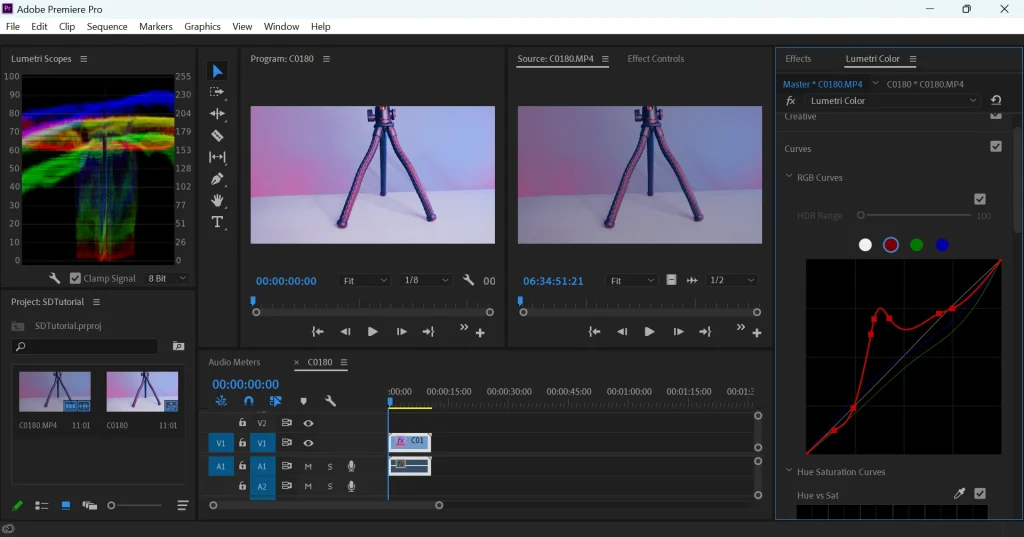
6. Use the Curves
In the Curves section of the Lumetri Color panel, adjust the brightness and contrast of specific tonal ranges of your footage. Use the RGB, Red, Green, and Blue curves to make precise adjustments to the color grading.
7. Fine-tune
Make any additional adjustments as needed, such as adjusting the sharpness or reducing noise.
8. Export your footage
Once you’re satisfied with your color grade, export your footage by opening File>Export>Media and saving the output in the desired format.
Conclusion
Color grading is a subjective process, and the specific steps you take will depend on your creative vision and the specific footage you are working with. Don’t be afraid to experiment and try different settings until you achieve the desired look for your footage.