Adobe Premiere Pro is an advanced video editing software designed to help users create professional-quality videos with ease. One of its key features is the ability to customize the workspace layout to suit individual needs. The default workspace layout in Adobe Premiere Pro provides a comprehensive overview of the video editing process, with various panels for media, effects, and the timeline.
However, depending on your specific requirements, you may need to customize the layout to suit your workflow. Customizing the workspace layout can help you work more efficiently, save time, and streamline your editing process.
Let’s take you through the steps to customize the workspace layout in Adobe Premiere Pro.
See Also: [How-to] Color Grade S-Log3 Footage in Adobe Premiere Pro
How to Customize Workspace Layout in Adobe Premiere Pro
Step 1: Launch Adobe Premiere Pro and Create a New Project
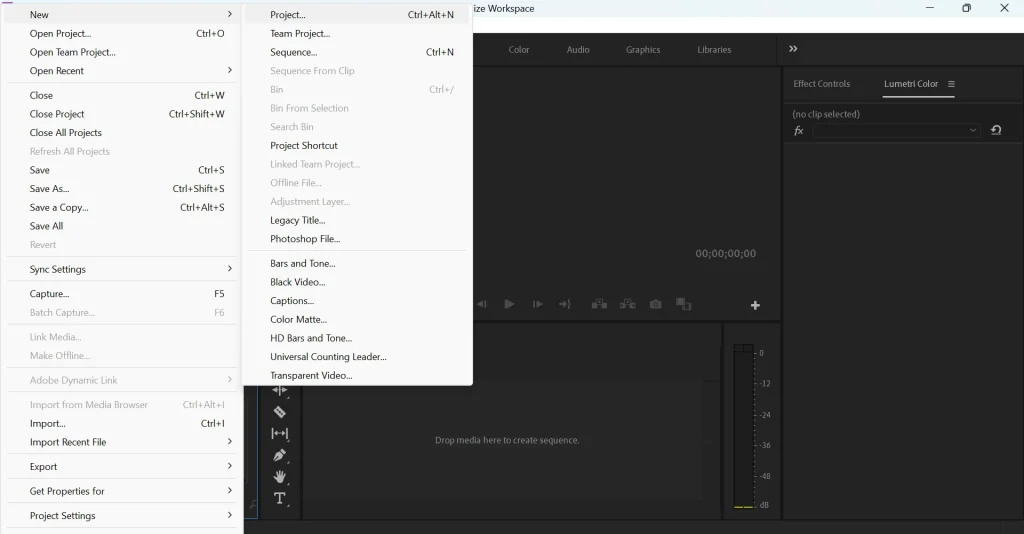
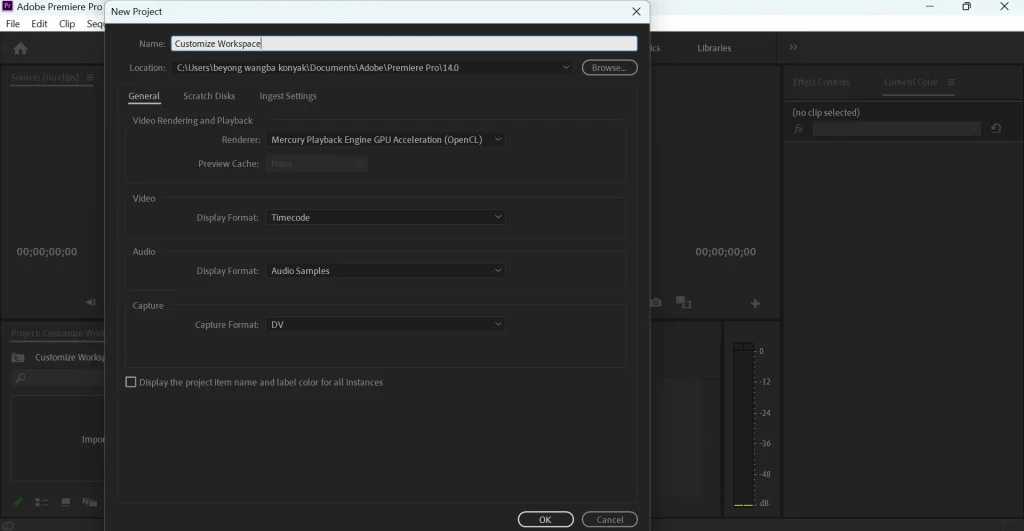
The first step towards customizing your workspace in Adobe Premiere Pro is launching the application and selecting New Project from the File menu. This will prompt you to select a location to save your project files. Once you have selected the location, click on OK to create a new project.
Step 2: Choose a Workspace Layout
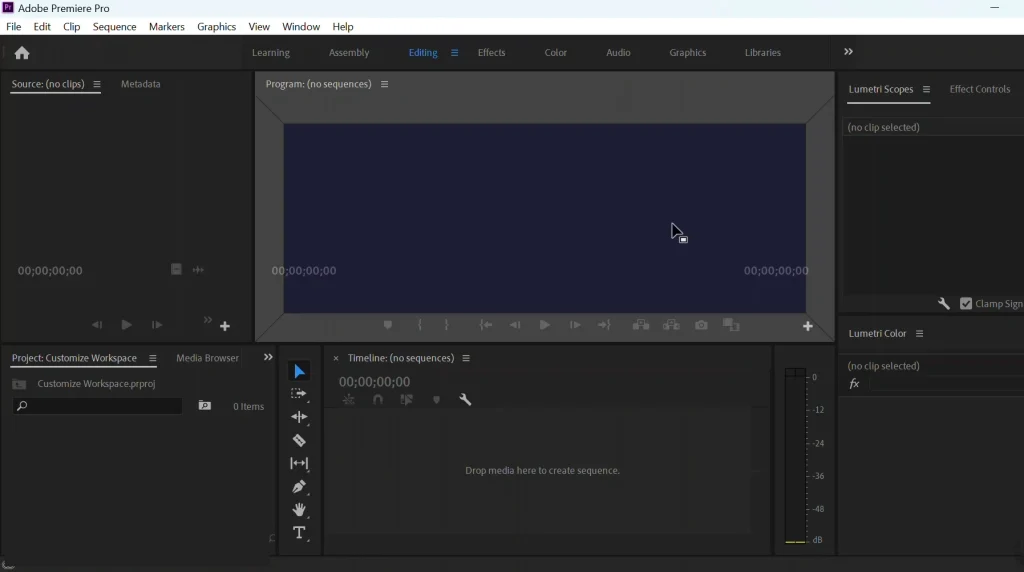
After creating a new project, you will be presented with a range of workspace layout options. These options include Assembly, Editing, Effects, Color, Audio, and Libraries. Each layout option provides a different set of panels and tools that are optimized for specific tasks.
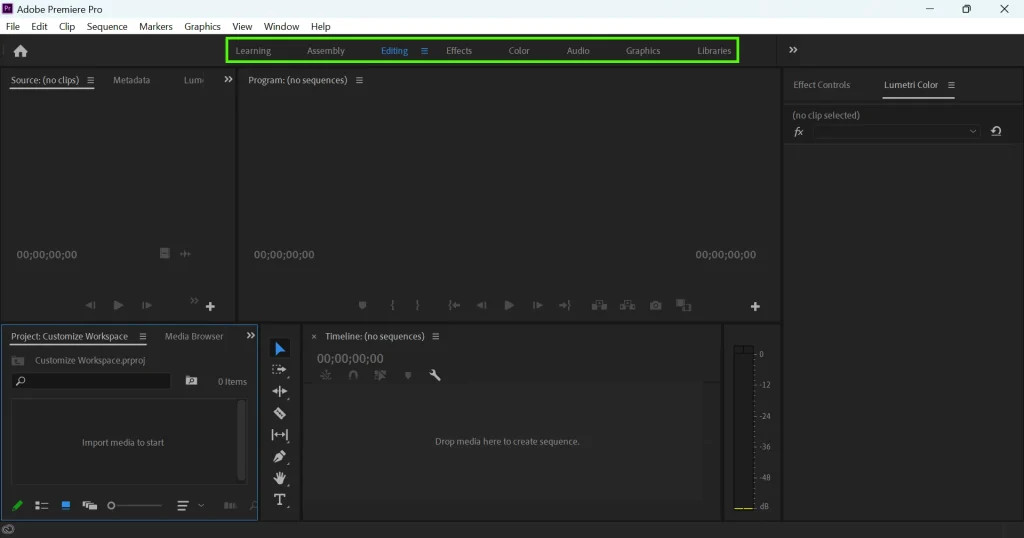
The Assembly workspace layout is designed for organizing and arranging clips in the timeline. The Color workspace layout is designed for color grading and correcting. The Editing workspace layout is the default workspace layout that provides a comprehensive overview of the video editing process.
Select the workspace layout that best suits your requirements. If you are not sure which layout to choose, start with the default Editing workspace layout and customize it as needed.
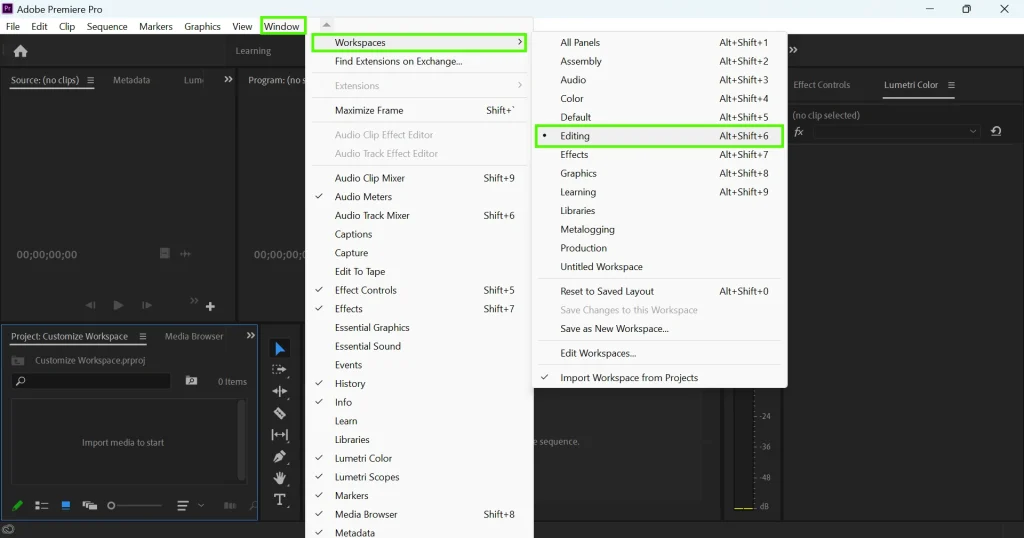
Step 3: Use the Workspace presets
If you’re not sure which workspace layout to choose or how to customize it, Adobe Premiere Pro also offers a range of workspace presets that are designed to help you get started quickly with specific tasks. These are pre-set layouts that are optimized for specific tasks, such as color grading or audio editing.
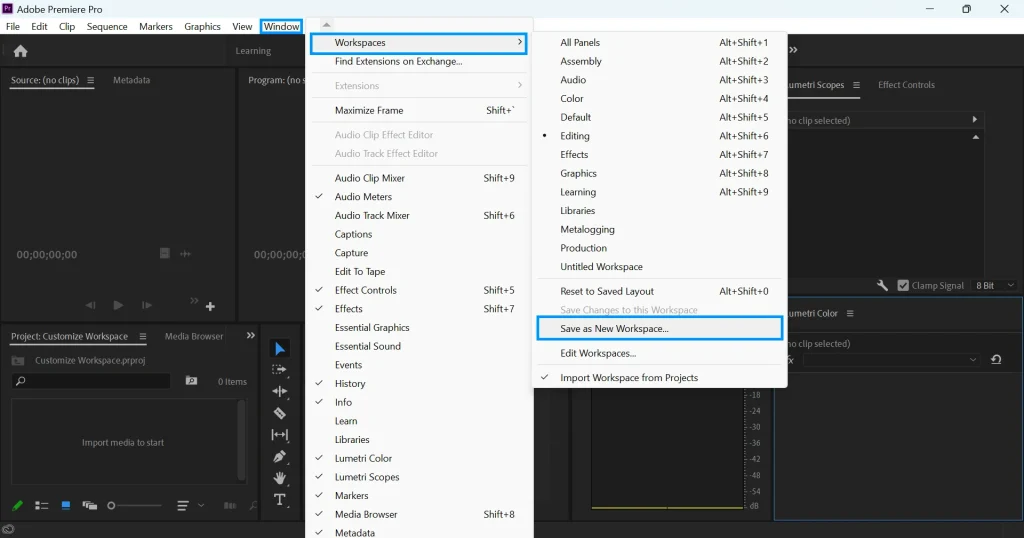
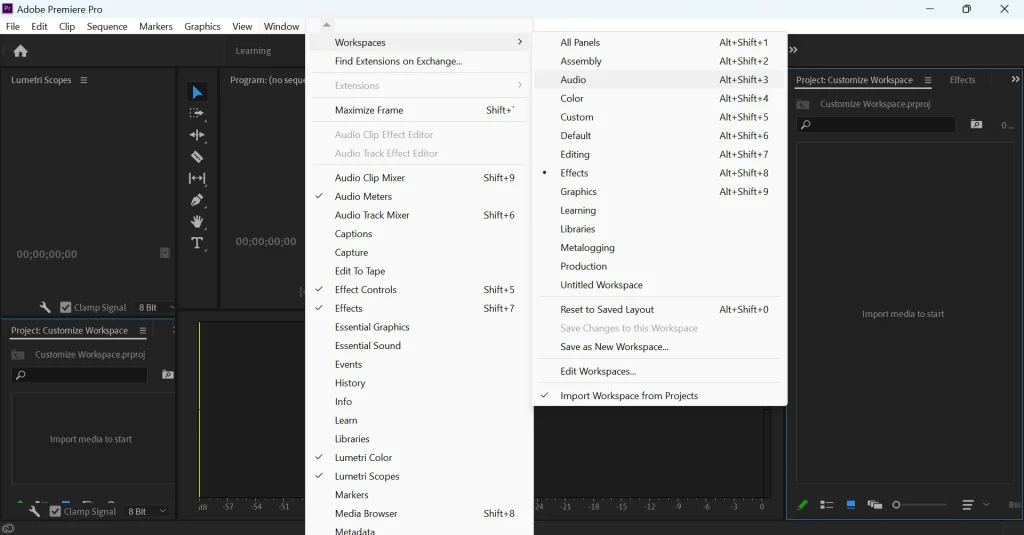
To access the workspace presets, go to the top menu bar and click on Window. From the drop-down menu, select Workspace, and then select one of the presets.
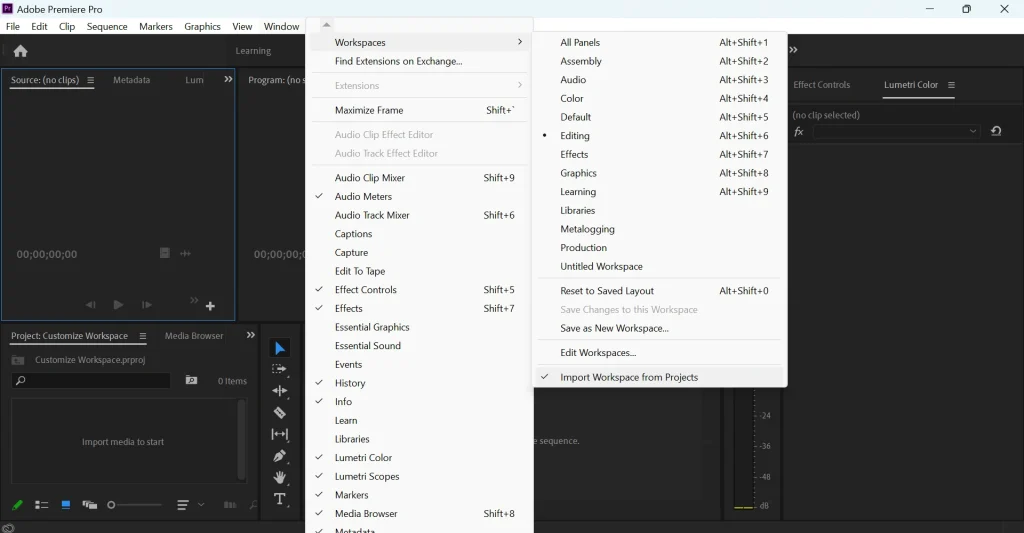
Step 4: Import workspace from another project
In addition to the workspaces presets, you can also import a workspace from another Premiere Pro project. To do this, go to the Workspace menu and select Import Workspace from Projects. Navigate to the location of the workspace file and select it. The imported workspace will now appear in the Workspace drop-down menu.
Step 5: Customize the Workspace Layout
Once you have selected the workspace layout, you can start customizing it to suit your specific requirements. One way to do this is by adding or removing panels from the interface.
There are several panels available in Adobe Premiere Pro, including:
Projects Panel – displays the media files in your project
Timeline Panel – displays the timeline where you can arrange and edit clips
Media Browser – provides access to your media files
Audio Meters– displays and lets you adjust the volume levels of the audio signal in real-time
Effects Panel – lets you apply effects to clips
Essential Graphics Panel – lets you create and customize motion graphics and titles
Lumetri Color Panel – provides tools for color grading and correcting
Info Panel – displays information about the selected clip or panel
Audio Track Mixer – lets you adjust audio levels and effects for individual audio tracks
Metadata Panel – displays metadata information for clips
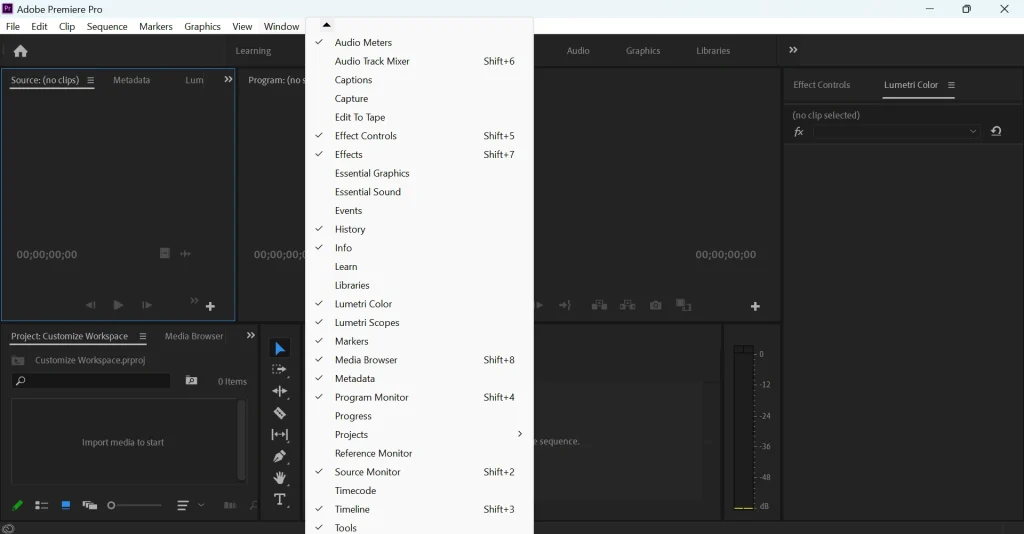
Add or Remove Panels
To add a panel, go to the top menu bar and click on Window. From the drop-down menu, select the panels you want to add. The new panel will appear in the workspace.
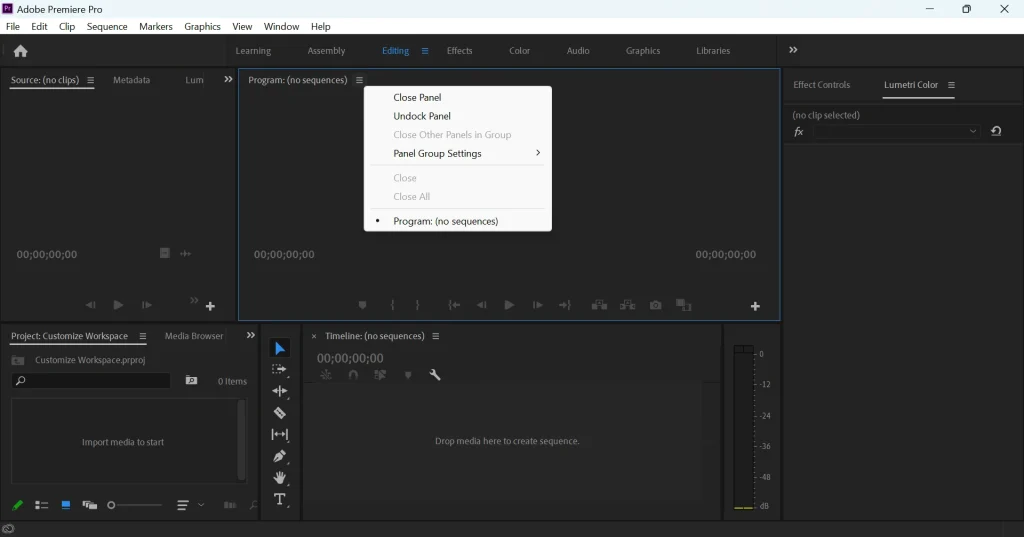
To remove a panel, simply right-click on the panel name and select Close Panel.
Rearrange Panels
To rearrange the panels, click and hold on the panel’s tab and drag it to a new location. You can also dock panels together by dragging a panel over another panel’s tab until it highlights in blue. When you release the mouse button, the two panels will be docked together.
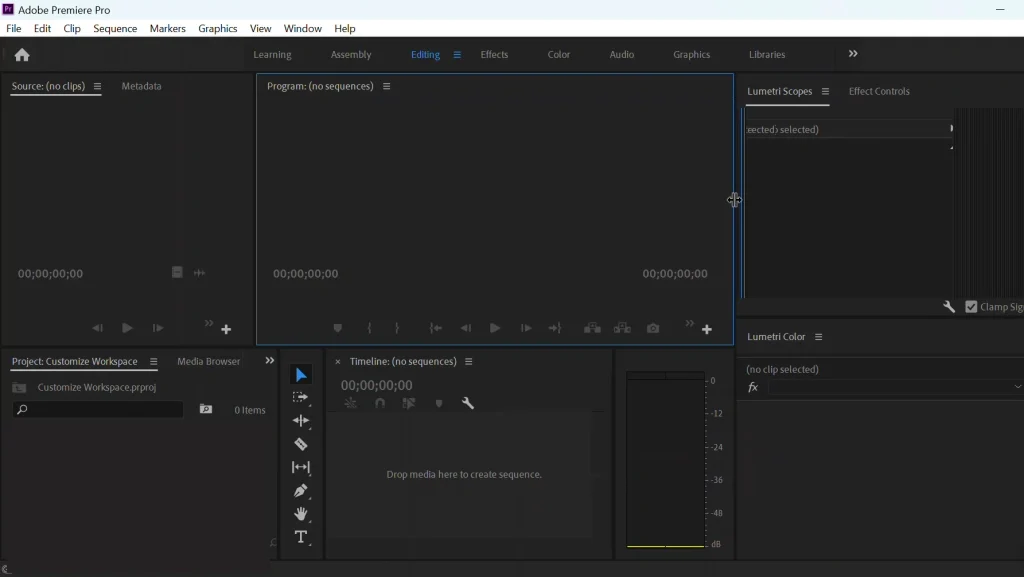
Resize Panels
To resize a panel, click on the panel so that the resize cursor appears. Click and drag the edge to the desired size.
Customizing the workspace layout is a personal preference, and it depends on your specific requirements. Experiment with different panel combinations and arrangements to find a layout that works best for you.
Step 6: Save Your Customized Workspace Layout
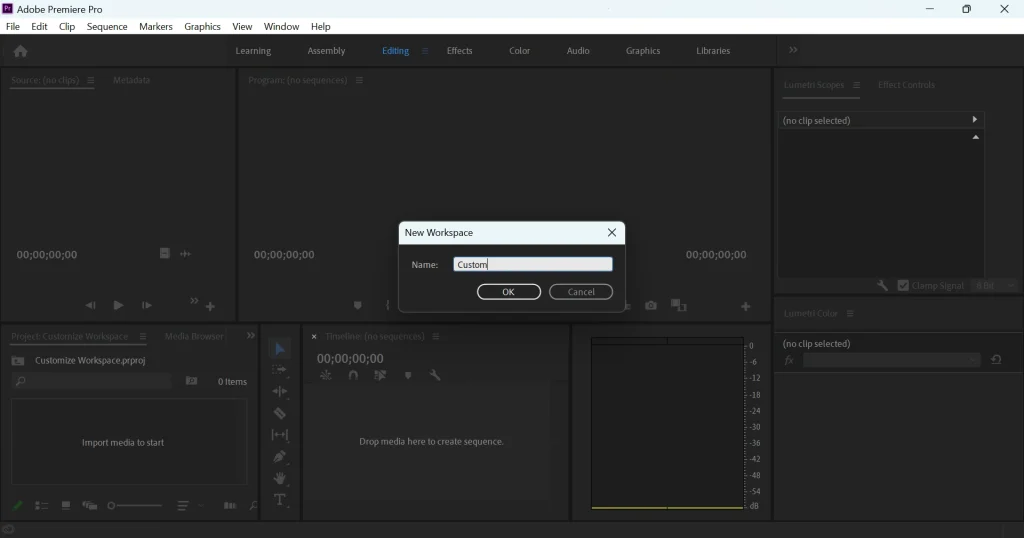
Once you have customized your workspace layout, you can save it for future use. Go back to the top menu bar and click on Window. From the drop-down menu, select Workspaces, and then select Save as New Workspace.
Give your new workspace a name and click on OK to save it.
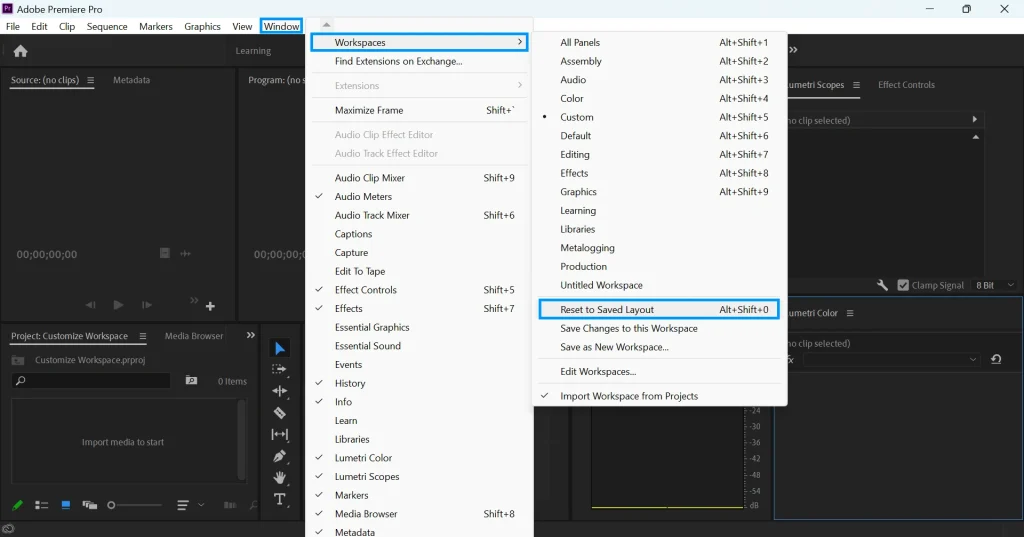
Step 7: Resetting the workspace
If you want to reset the workspace to its default layout, go to the Workspace menu and select Reset to Saved Layout. This will reset the workspace to the last saved layout.
Step 8: Switch between workspaces
Once you have created and customized a workspace layout, you can easily switch between different layouts. To do this, go to the top menu bar and click on Window. From the drop-down menu, select Workspaces, and then select the workspace you want to switch to.
Conclusion
Customizing the workspace layout in Adobe Premiere Pro is a great way to create an editing environment that is tailored to your needs and preferences. It can greatly improve your workflow and help you work more efficiently. Moreover, by creating a custom workspace, you can save time by having all your preferred panels in one place.