
You might need to record a call on your Android phone on more than one occasions. Most phones do not have this feature inbuilt in them but you can install them additionally. Recording calls is extremely easy and can be done using a few methods explained here. We have listed some of the best methods below.
Record Phone Calls with Google Voice
One of the easiest ways of recording voice calls is through Google voice. In order to do this, you simply need to set up a Google voice account and become a Google Voice user. To get started with this method, you will first have to activate the call recording feature which can be done using the web browser of your phone or the Android app.
- Step 1: Open Google Voice and select the Settings menu from the left hand side slider.

- Step 2: Now tap on the “Calls” Tab in the settings section.
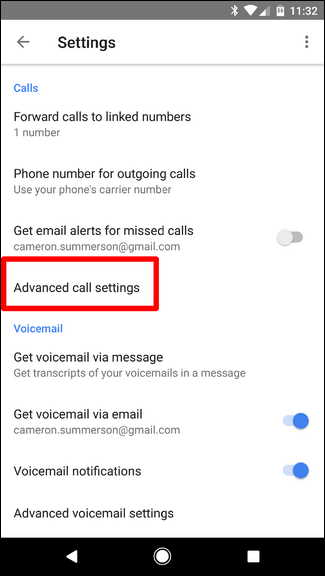
- Step 3: If you are using the web version, Scroll Down to the last option in the call section which is “Incoming Calls”. This feature allows you to record calls. Toggle on the slider located there to enable this option. If you are using the Android App, tap the” Advanced Call Settings” which will take you to the Incoming Call Options.
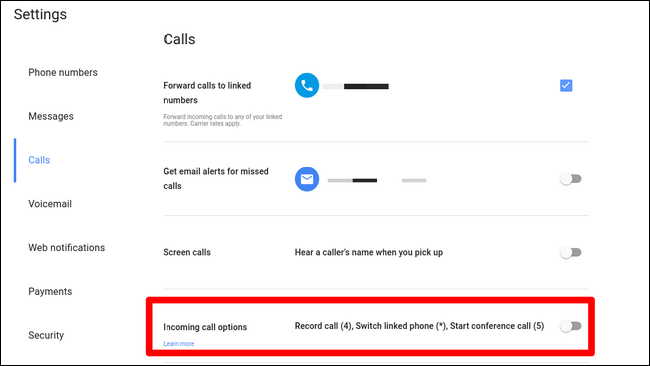
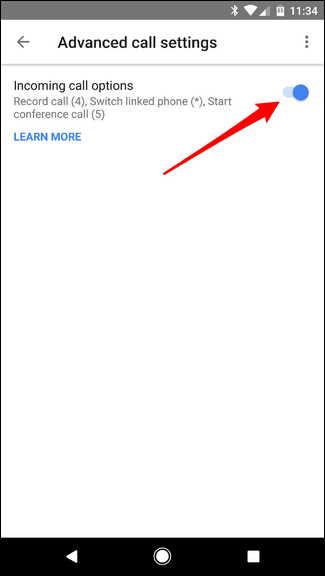
This feature needs to be enabled only once. After that is done, you can use your account across all devices. The only drawback is that it only records a call when you have been called. You cannot use it in case of outgoing calls. To start recording, tap on number 4 on the keypad. This will let both users know that this call is being recorded. When you wish to cease recording the call, tap on number 4 again. The audio file can be accessed from your Google Voice Account.
Record Phone Calls with Automatic Call Recorder
- Step 1: Automatic call recorder is a third party application that will help you record calls on your Android Device. In order to get started, you can download this app from Google Play Store.
- Step 2: When you open the app, you will be prompted to select a light or classic theme according to the display of your phones. For Android phones like Samsung, a classic theme is the best since they use AMOLED display.
- Step 3: You will then be asked to activate cloud storage which will allow you to back up your calls through Dropbox or Google Drive.
- Step 4: After you accept the terms of usage, you will have to approve a series of permissions such as volume, contacts, storage and microphone.

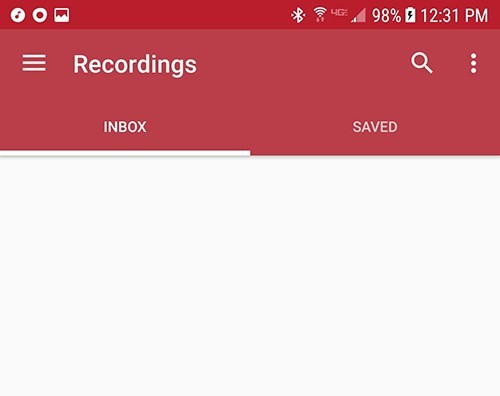
- Step 5: Once you have enabled these permissions, you will now be redirected to a blank display screen with an Inbox option and an option to save which will allow you to save your recordings.
- Step 6: Through the slide on menu, the cloud account, voice recorder and settings tab can be accessed.