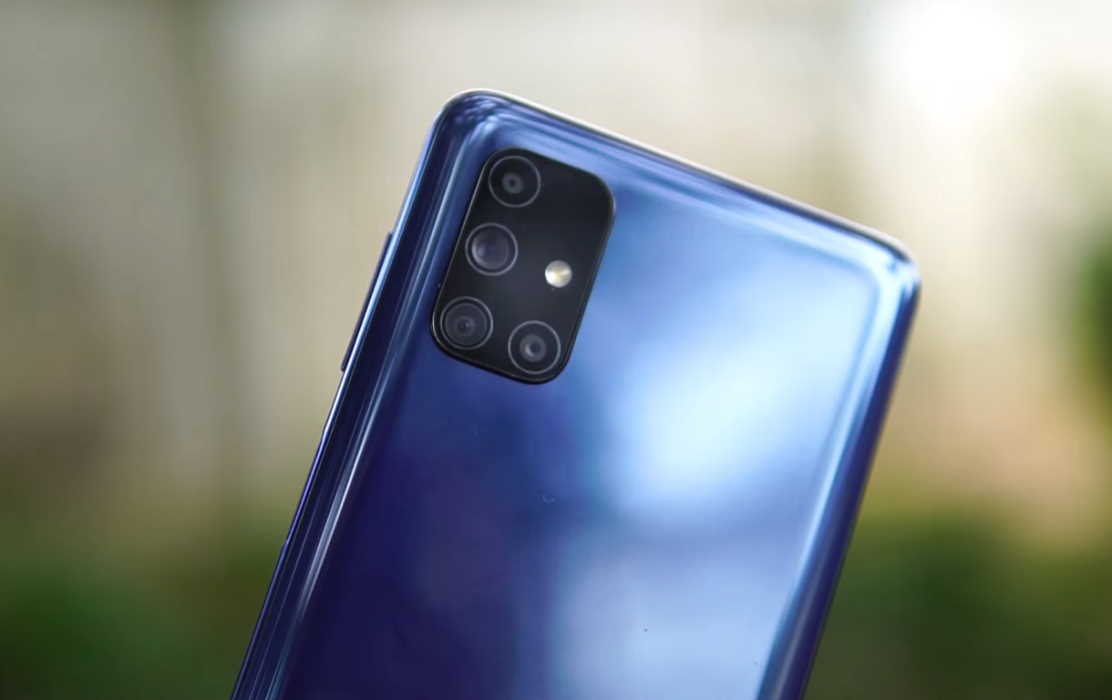
Camera not working on your Samsung Galaxy Galaxy M21/M23/M31/M33/M51/M52/M53? If you notice camera issues on your Samsung Galaxy M Series, there are some solutions you can try.
Below are some camera issues you may experience on your Galaxy M21/M23/M31/M33/M51/M52/M53.
- Camera not focusing well
- Camera preview not available
- Camera shaking and making rattling noise
- Camera producing blurry photos
- Camera displaying “Camera Failed” error message
- Camera closing immediately after opening
- and so on
Solutions to fix camera issues on Galaxy M21/M23/M31/M33/M51/M52/M53
1. Close and reopen camera app
The first thing you should do when you notice camera is not working is to close and reopen the camera app. It could be temporary app malfunction that is causing the issue. Simply closing and restarting the app can easily fix the problem.
Here’s how to close the camera app.
- Touch and hold the Recent apps key on the bottom left corner.
- Find the camera app in the recent applications and tap the X icon on the top right corner.
2. Reset the camera app
If the above solution do not work, try resetting the camera app settings and see if that fixes the problem. To reset camera, follow the steps below.
- Open the Camera app, and then tap on Settings.
- Tap Reset settings, and then tap Reset to reset the camera.
3. Remove or readjust the screen cover
Sometimes using phone case that doesn’t fit well can cause issues with the camera. Try removing or readjusting the cover to make sure it doesn’t block the camera lens.
4. Clean the camera lens
Check if there are any dirt or smudges over the camera lens. If the camera lens is dirty, it will produce poor quality and unclear photos. Use a clean soft cloth dampen with alcohol solution and wipe off the dust or smudges on the lens.
5. Adjust the camera focus
Sometimes if you are not focusing camera correctly, it can produce blurry or unclear photos, especially if you are using manual focus to take photos. Make sure your camera is focused correctly on to the subject before taking the shots. We recommend enabling autofocus mode if you want the camera to set the focus automatically.
6. Restart your phone
Most minor smartphone problems can be easily fixed by simply restarting the device including camera issues. This action refreshes the phone by restarting all its apps and services thereby eliminating any glitches caused by software malfunction.
To restart your phone, follow the steps below:
- Press and hold the side button and volume down key together until the Power Menu appears.
- When the Power Menu appears, tap the “Power Off” or “Restart” button.
7. Clear camera cache and data
The camera issue can also happen when its cache and data gets corrupted. This can be easily fixed by deleting them to clear any existing flaws or errors in the system. Here’s how to clear the camera cache and data.
- Go to Settings
- Then tap on Apps
- Next navigate to Camera app and tap on it
- Now tap on Storage
- Then tap Clear cache on the bottom right
- Finally tap Clear data and click OK to confirm
8. Disable camera permission to third party apps
If there are third party apps that have permission to access the camera app, try removing the access. To manage camera app permission, follow the steps below:
- Go to Settings
- Tap on Apps
- Click on the 3-dots menu located on the upper right corner of the screen
- Then, click on Permission Manager
- Tap on Camera from the list
- You will see all the apps that have permission to access the camera
- Select the app(s) you want to remove access to the camera and set to Deny
9. Wipe system cache partition
A system cache partition is a temporary storage that stores frequently accessed files and data. Sometimes, this cache can get corrupted and cause different problems including camera issue. Wipe the cache to remove any errors and see if the resolves the issue.
Here’s how to clear system cache partition.
- Turn off the device
- Press and hold the Volume Up key and the Power key.
- Continue to hold both keys until Android Recovery menu options appear
- Press the Volume down key and navigate to Wipe cache partition
- Press Power key to select
- Press the Volume down key to highlight Yes, then press the Power key to select
- When the process is complete, Reboot system now is highlighted
- Press the Power key to restart the device.
10. Reset your phone
If the problem is firmware related or the problem started after a software update, it can be resolved by performing factory reset of your device. This procedure will restore your device back to its factory settings and original firmware. However, this action will delete all your apps and data, so backup all your important files and data before proceeding.
If you want to go ahead and reset your phone, here’s how to do that.
- Open Settings from your home screen
- Tap on General management
- Tap on Reset
- Tap on Factory data reset
- Scroll down and tap on the Reset button
- Tap the Delete all button to proceed with the reset
Once the reset is complete and your phone has fully rebooted, open the camera app and check if the issue has gone. If it doesn’t, contact Samsung care for further diagnosis and support.

