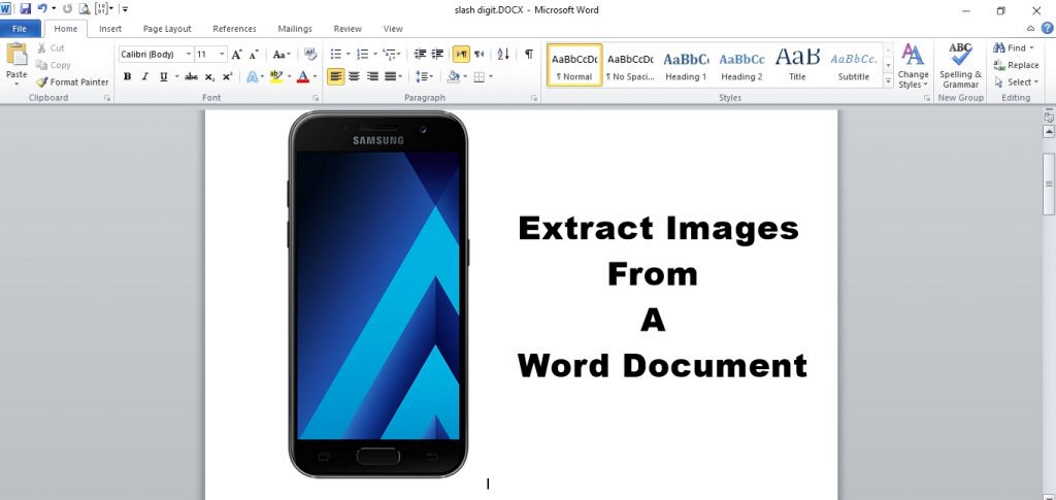
There is no denying the fact that Microsoft Word is a powerful tool for writing. Unfortunately, it lacks certain features when it comes to images. For instance, there is no built-in method in Word to extract all images from a Word document. However, it’s not impossible too.
Today, in this post we will discuss three easy methods that you can use to extract all images present in any Word document and that too in original quality.
1. Save the Word document as a web page
In this method, you have to open the Word document normally and then save it as a web page instead. When you do so, a new folder will be created that will have all the image files present in the Word document.
Here’s how to do it:
- Open the Word document from which you want to extract the images in high quality.
- Go to the top right corner and click File option. Choose Save as.
- When the Save as dialog box opens, click “Save as type” and select Web page from the list. Kindly do not select Web Page filtered as it will lower the quality of your images.
- Finally, click Save.
- Now navigate to the location where you saved the Word document as a web page. You will find a new folder there with the name that you gave while saving the file with _files suffixed to it. Usually, the name is same as your Word document unless you changed it. Double-click the folder to open it.
- All the Word document images will be present in the folder in high resolution. You can easily copy and move them.
2. Change the extension of Word document from .DOCX to .ZIP
- Navigate to the location where your Word document is present. Check if the extension .DOCX is suffixed to the file name. If yes, skip to step two, otherwise continue reading this step. Since file extensions are not visible on your computer, you have to enable them first. For Windows 7, open Folder options and uncheck “Hide extensions for known file types”. For Windows 10, click the View Tab in any folder and check “File Name extensions” to show file extensions.
- Once the extensions are visible, right-click the Word document and choose Rename from the menu. Then change the .DOCX to .ZIP. For instance, change the file name of SlashDigit.DOCX to SlashDigit.ZIP.
- Choose OK on the confirmation pop up menu.
- Then extract the ZIP file like you would extract any other ZIP file.
- Open the extracted folder and click on “Word” folder followed by Media folder.
All your images in high resolution from the Word document are present in this Media folder.
The above two methods extract the images in its original size. In case, if you want to extract an image in the same size as it is used in the Word document, you can do that by following the method given below. However, you would have to manually perform the task each time for all the images.
3. Use MS Paint
- Open the Word document from which you want to extract an image.
- Click the image that you want to extract and press CTRL + C to copy it.
- Open MS Paint and paste the image using paste option or the shortcut keys: CTRL +V.
- Save the image.

