So you’ve got yourself a shiny new iPhone 14, iPhone 14 Plus, iPhone 14 Pro, or iPhone 14 Pro Max, and you’re itching to listen to some over-the-air (OTA) radio. You may already know that the iPhone 14 series doesn’t have a built-in FM/AM radio chip, but don’t fret – we’ve got you covered.
In this guide, we’ll show you how to use software-defined radio (SDR) hardware and software solutions to turn your iPhone into a fully functional OTA radio. Let’s dive in!
See also
Step 1: Choose your SDR hardware
To get started, you’ll need an SDR receiver that can pick up radio signals and is compatible with your iPhone. Here are three popular options:
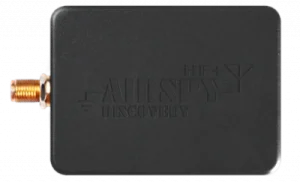
Airspy HF+ Discovery: This high-performance SDR receiver is an excellent choice for iPhone users. It has a wide frequency range and provides top-notch reception.
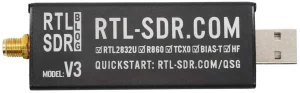
RTL-SDR Blog V3 R860: This affordable SDR dongle is a great option for both beginners and experienced users.
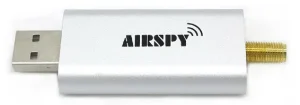
Airspy Mini: The Airspy Mini is a compact and powerful SDR receiver that works well with iOS devices. It offers high performance and a broad frequency range, making it an excellent alternative to the SDRplay RSP1A.
Step 2: Grab a Lightning to USB adapter
To connect your SDR receiver to your iPhone, you’ll need a Lightning to USB adapter. Apple’s official adapter is the Lightning to USB 3 Camera Adapter.

This adapter allows you to connect USB peripherals, like the SDR receiver, to your iPhone.
Step 3: Install an SDR app on your iPhone
Once you’ve got your SDR hardware and adapter, it’s time to install an SDR app on your iPhone to control the receiver and tune in to radio stations. Here’s a top pick for iOS users:
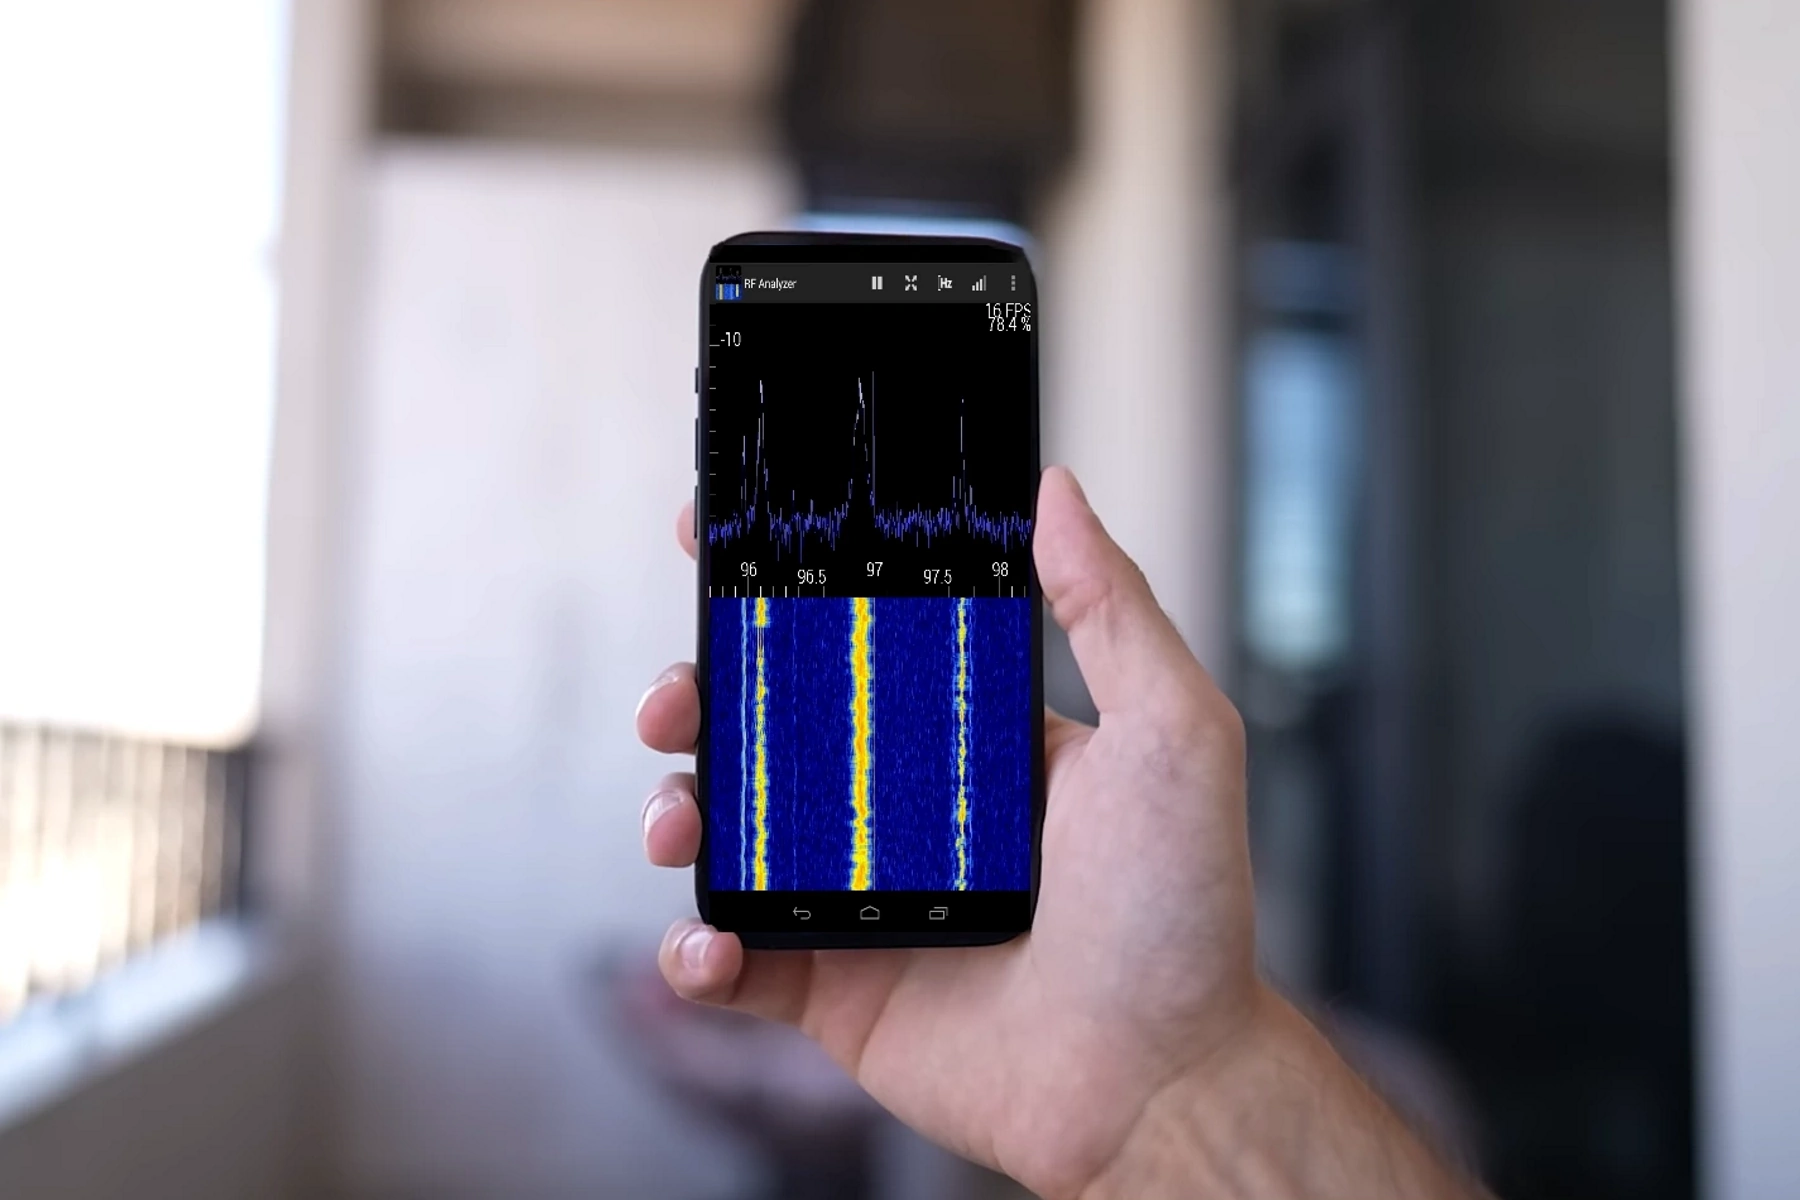
SDR Receiver: This app allows you to control your SDR receiver and enjoy OTA radio on your iPhone. The app supports a variety of SDR hardware, including the Airspy HF+ Discovery and RTL-SDR.
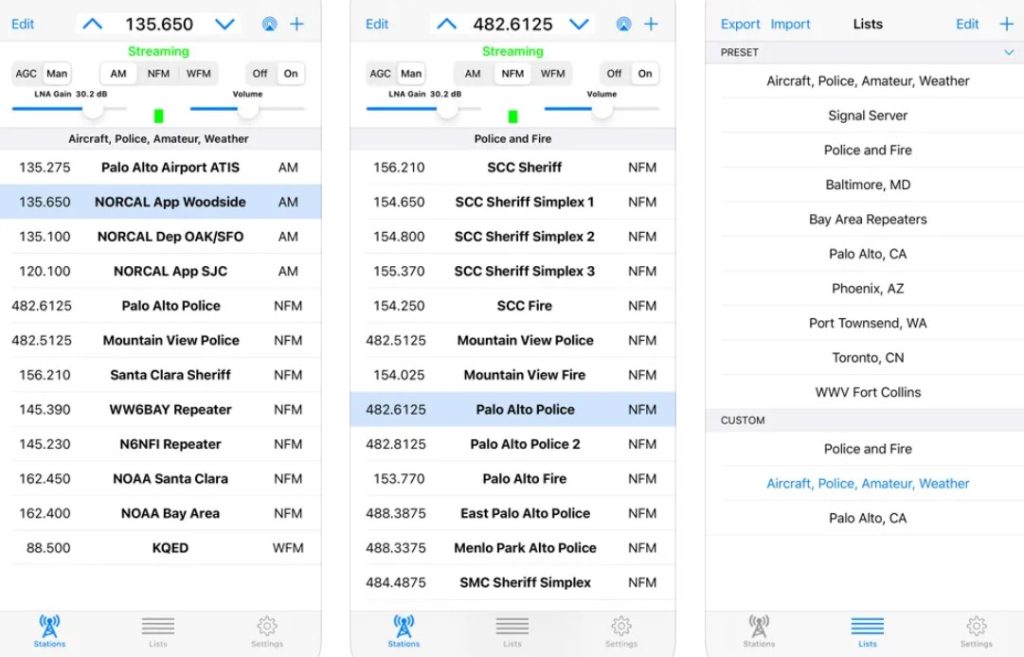
Step 4: Connect your SDR hardware and tune in
With your SDR app installed, plug your SDR receiver into the Lightning to USB adapter, and then connect the adapter to your iPhone. Open the SDR app and follow the on-screen instructions to start scanning for radio stations. Once you’ve found a station you like, simply tap on it to start listening.
Step 5: Optimize your setup
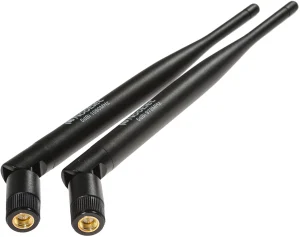
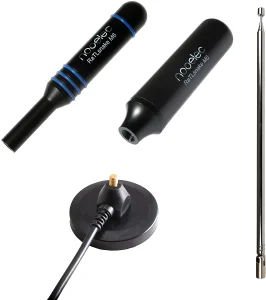
To improve reception and get the most out of your new OTA radio setup, consider investing in a better antenna. The stock antennas that come with most SDR receivers are decent, but upgrading to a higher-quality antenna can make a significant difference in signal quality and reception. Here are two options to consider:
NooElec ADS-B Discovery: This high-gain antenna is designed specifically for ADS-B reception, but it also works well for general SDR purposes. It offers better reception and improved signal quality compared to stock antennas.
RaTLSnake M6 v2: The RaTLSnake M6 v2 is great another great option that can significantly improve reception for your SDR setup.
Ideally, you should experiment with different antenna positions and orientations to find the best spot for reception. Also, keep in mind that certain locations or buildings may have a significant impact on signal quality. Try moving to different locations to see if it improves your reception.
And there you have it! Now you can enjoy listening to your favorite AM, FM, and even shortwave radio stations, all through the convenience of your iPhone. The setup works as a fully functional OTA radio so you can listen to radio signals offline just like traditional radio without internet connection.