Are you experiencing camera issues on your Samsung Galaxy S21, S21+, or S21 Ultra? Is your camera shaking or not focusing, resulting in blurry photos? Don’t worry, we’ve got you some tips that could help resolve the issue.
In this post, we’ve compiled a list of tips to help you troubleshoot and fix any camera issues on your Samsung S21 device.
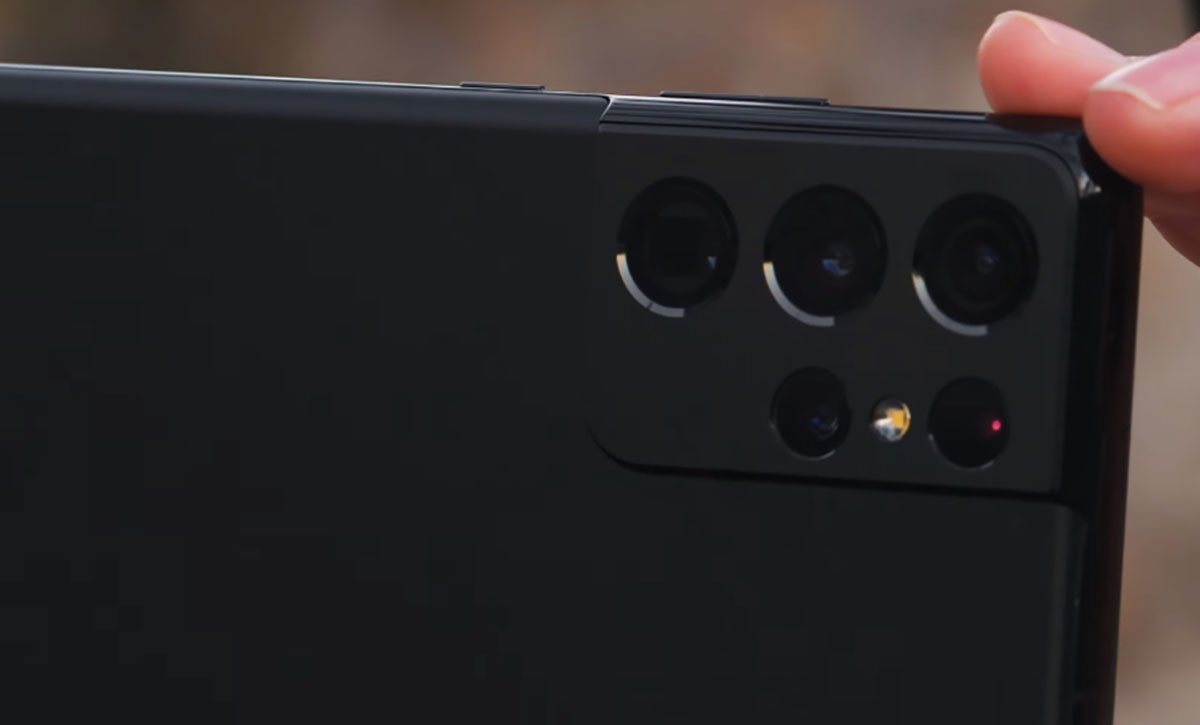
Let’s find out how to fix blurry image quality issue on your Samsung Galaxy S21 series.
Tips to Fix Samsung Galaxy S21 Blurry Image Issue
1. Close and restart the camera app again
One of the reasons for your camera issue can be due to a glitch in the camera software. Often closing and restarting the camera app can clear the glitch and resolve the problem.
To close the camera app, follow the steps below:
- Touch and hold the Recent apps key on the bottom left corner.
- Find the camera app in the recent applications and tap the X icon on the top right corner.
2. Remove phone case
Check if your phone case is the reason for the camera shake. Phone cases that doesn’t fit well or partially cover the flash or the camera lens can cause this problem. Try removing or adjusting the phone case and see if that fixes the problem.
3. Wipe clean the camera lens
Fingerprint smudges or dust on the camera lens can also lead to camera issue. Such things can prevent your camera from focusing properly, which can lead to camera shaking problem and producing low quality and unclear photos. The solution to this problem is to clean the lens with a microfiber cloth. Cleaning the lens often resolves this issue.
4. Turn on auto-focus tracking
You can use auto-focus tracking feature to tell your phone what you want to focus on by giving a tap on the object that you want. It can be anything from a person’s face to a pen or a flower vase. This will keep the camera focused on the selected subject even if they move or your camera shakes.
To enable auto-focus tracking, follow the steps below:
- Open the camera app
- Tap the Settings (gear icon) on the top-left corner
- Scroll down and tap on Tracking auto-focus and turn it On
5. Reset the camera settings
While fiddling with different camera settings, things can go wrong and lead to camera not working properly. Reset the camera settings and check if that fixes the problem.
Here’s how you can reset camera settings:
- Open the Camera app
- Tap the Settings (gear icon) on the top-left corner
- Scroll down and tap on Reset settings, and then tap Reset to confirm the reset
6. Clear camera data and cache
You can also try clearing camera data and cache and see if that resolves the problem. To wipe camera data an cache, follow these steps:
- Tap and hold on the Camera app icon
- Tap on App info
- Tap on Storage
- Tap Clear cache on the bottom right
- Tap Clear data and click OK to confirm
7. Update device software and all pending apps
Software updates often come with bug fixes and improvements to existing features including camera improvements. To check if updates are available, perform the following procedures.
- Go to Settings
- Tap on Software update
- Then tap on Download and install to download and install the update.
To update apps, follow these steps.
- Open the Google Play Store
- Tap the Hamburger Menu on the top left corner
- Tap on My apps & games
- Tap Update all to update all applications with updates available
- Tap Update button to update a single application
- To auto-update apps, tap Menu > Settings > Auto-update apps
If any outdated app was causing a conflict that led to the camera issue, the updates should fix it.
8. Wipe system cache partition
You can also try wiping the system cache partition and see if that clears the camera problem. Clearing the system cache partition can help to resolve issues and improve the performance of your phone by removing temporary files or data associated with your device firmware.
To wipe system cache partition, use the following steps:
- Turn off your phone
- Connect your phone to the PC via USB
- Wait until the message shows your phone is being charged
- Press and hold the Volume Up key and the Power key.
- Continue to hold both keys until Android Recovery menu options appear
- Press the Volume down key and navigate to Wipe cache partition
- Press Power key to select
- Press the Volume down key to highlight Yes, then press the Power key to select
- When the process is complete, Reboot system now is highlighted
- Press the Power key to restart the device
9. Reset all settings
Maybe, something you did, messed up the setting for your phone camera. You can revert back to original settings and this may help to resolve the issue. Follow these steps to reset all settings:
- Go to Settings
- Tap on General management
- Tap on Reset
- Tap on Reset all settings
- Tap on Reset settings button
- Type in the passcode if prompted
- Tap Reset to confirm the reset
Now retry the camera. If it doesn’t work, you can try the last method.
10. Factory reset your phone
If the none of the above methods work, you can try this option. This is the last thing you should try. Here is the steps you need to follow:
- Turn off your phone
- Connect your phone to the PC via USB
- Wait until the message shows your phone is being charged
- Press and hold the Volume Up key and the Power key.
- Continue to hold both keys until Android Recovery menu options appear
- Press the Volume down key and navigate to Wipe Data/Factory Reset
- Press Power key to select
- Press the Volume down key to highlight Factory data reset, then press the Power key to select
- When the reset process is complete, Reboot system now is highlighted
- Press the Power key to restart the device
Conclusion
If none of these tips are working, there is a high possibility that there is a hardware issue causing the problem. Visit your near Samsung care center center to seek further assistance.